Ground Cherry Cupcake Pies
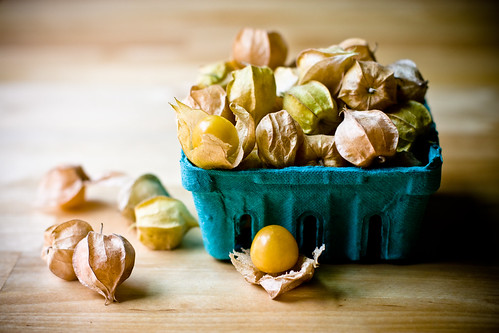
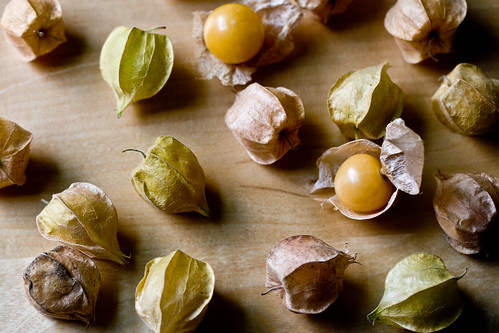
Ground cherries. I had absolutely no idea what they were until I saw them at a farmers market here in Boston. When I walked by them I said, “Aww, baby tomatillos!” The sign said “ground cherries” so I asked the woman more about them. She carefully unwrapped one from it’s papery husk and handed it to me.
Wow, so weird. And so good.
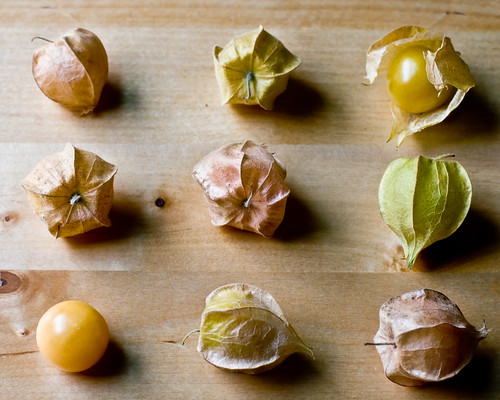
They’re the size of cherry tomatoes. The ripe ones are a pale golden yellow. They have a hint (just a hint) of tomato, but are much sweeter. They smell like fresh strawberries, have the sweetness of grapes, and have a vaguely pineapple flavor. And a little vanilla, too. Weird. But good.
I picked up two little cartons and then let them sit on my counter for four days. I couldn’t figure out what to do with them, and I thought the point would be moot since they were probably spoiled. But nope! They store extremely well in the fridge, and as it turns out, pretty well on your counter top, too.
The most traditional way to use them is in pie. I been thinking about a way to make miniature pies in cupcake tins, so here was my chance to try it out. The upshot is that you can use the technique with whatever fruit you can find, should ground cherries not be available.
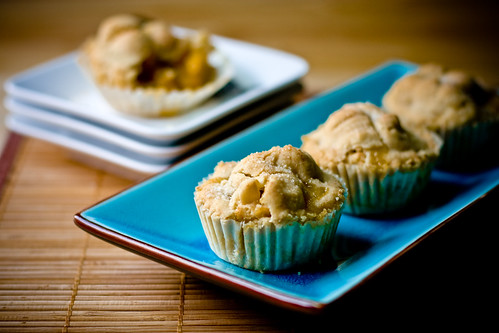
Ground Cherry Cupcake Pies
Makes Six
Pate Brisee (pie dough)
1 1/4 Cup All Purpose Flour
1/2 tsp Salt
1 1/2 tsp Sugar
1/2 Cup Cubed, Chilled Earth Balance Margarine
2 Tbs – 1/4 Cup Ice Water
1 1/3 Cup Ground Cherries, de-husked and washed
1/4 Cup Sugar + 1/2 tsp Flour
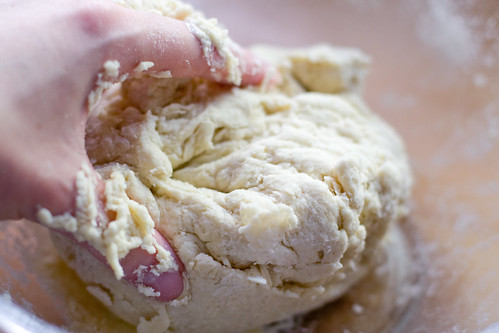
Begin by making the pie dough. For a step-by-step, see this recipe.
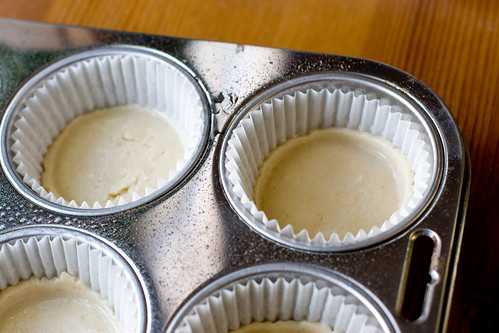
Line a cupcake tin with cupcake papers. Spray lightly with oil. Place a scant tablespoon of dough into the bottom of each cup. Using a small glass dipped in water (one that has the same diameter of the bottom of the cupcake cup), press the dough to form a bottom crust.
Take small pieces of dough and build up the sides of the cup with dough, making sure the walls aren’t too thick.
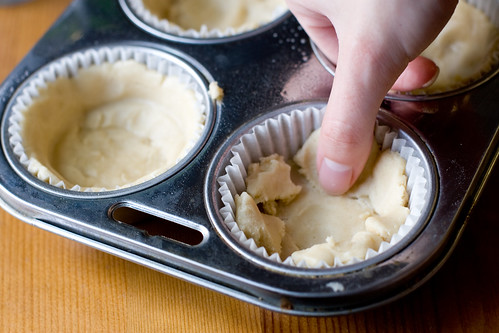
At this point, you can use the glass again, dipped in water so it won’t stick, to neaten everything up if you want.

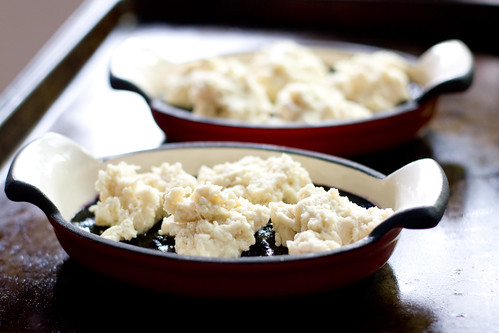
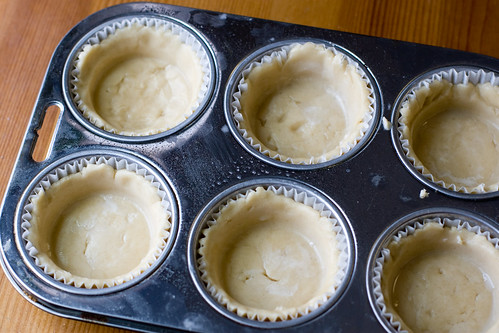
Your finished pie shells should look something like this. Place the shells in the refrigerator for a few minutes to firm up.
Preheat the oven to 400º F. Remove the shells from the fridge and fill to the top, slightly overflowing, with ground cherries (or whatever fruit you’re using).

Add 1/2 to 1 tsp of the sugar/flour mixture to each cup, depending on how sweet you want your pies. 1/2 tsp was sweet enough for me, allowing the flavor of the fruit to show through. If you’re using something tangier or less sweet, you’ll want more sugar.
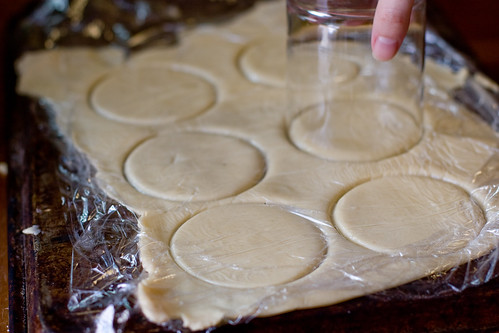
Cover the back of a cookie sheet with a sheet of plastic wrap. Add the rest of the pie dough, and cover with a second sheet. Using a rolling pin, roll out the dough to 1/4-1/8″ thick. Using a glass that has a slightly larger diameter than the openings of the cupcake cups, stamp out six pie crust tops. Place this in the freezer for a few minutes, or into the refrigerator for 10-15 minutes.
Once chilled, you should be able to easily peel out the tops and place them over your pies. Pinch the edges down, slash a X in the top with a sharp knife, and sprinkle with sugar. You can do other types of tops, such as lattice work, if desired.

Bake for 30 – 35 minutes, until golden brown. Let cool for several minutes before gently removing them from the cupcake tin to cook completely.
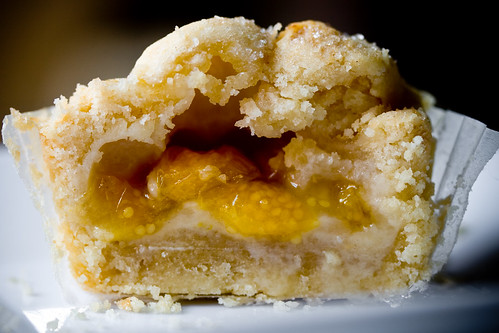
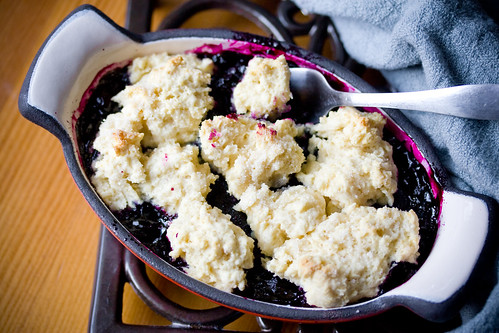
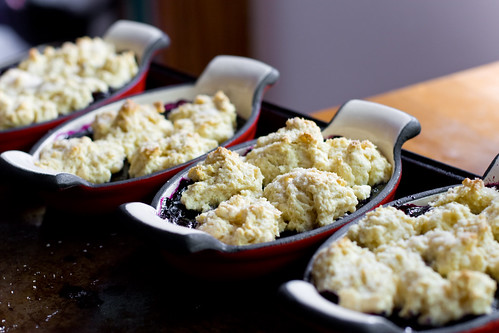
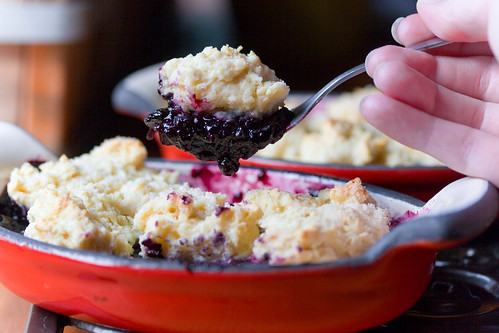
Ground cherry cupcake pies!
Again, you can use any fruit you like, but if you ever see ground cherries, definitely try them. They’re also sometimes called cape gooseberries (though some people say it’s a different fruit in the same family), husk tomatoes (which usually refer to tomatillos…), goldenberries, and a host of other names. Whatever they’re called, they should be small, sweet, and surprising. Make a jam, dip them in chocolate, add them to salsa, or eat them raw.
—————————–
Okay! Seems like a lot of people find these growing nearby their homes. PLEASE don’t eat them unless you’re SURE they are okay to eat. Wikipedia lists over 35 different plants in the Physalis genus. That’s a lot! So there’s no guarantee the species that is growing near you is this same species I’ve written about. Please be careful!! Even if they are safe to eat, they might not taste the same.
If the people that live around you don’t tend to eat the fruits of the bushes you see, there might be a very good reason why. Wild foraging can be dangerous, so please eat only ground cherries that you find at markets that have a reputation for, well, selling non-poisonous food. Ha!