Kitsune Soba

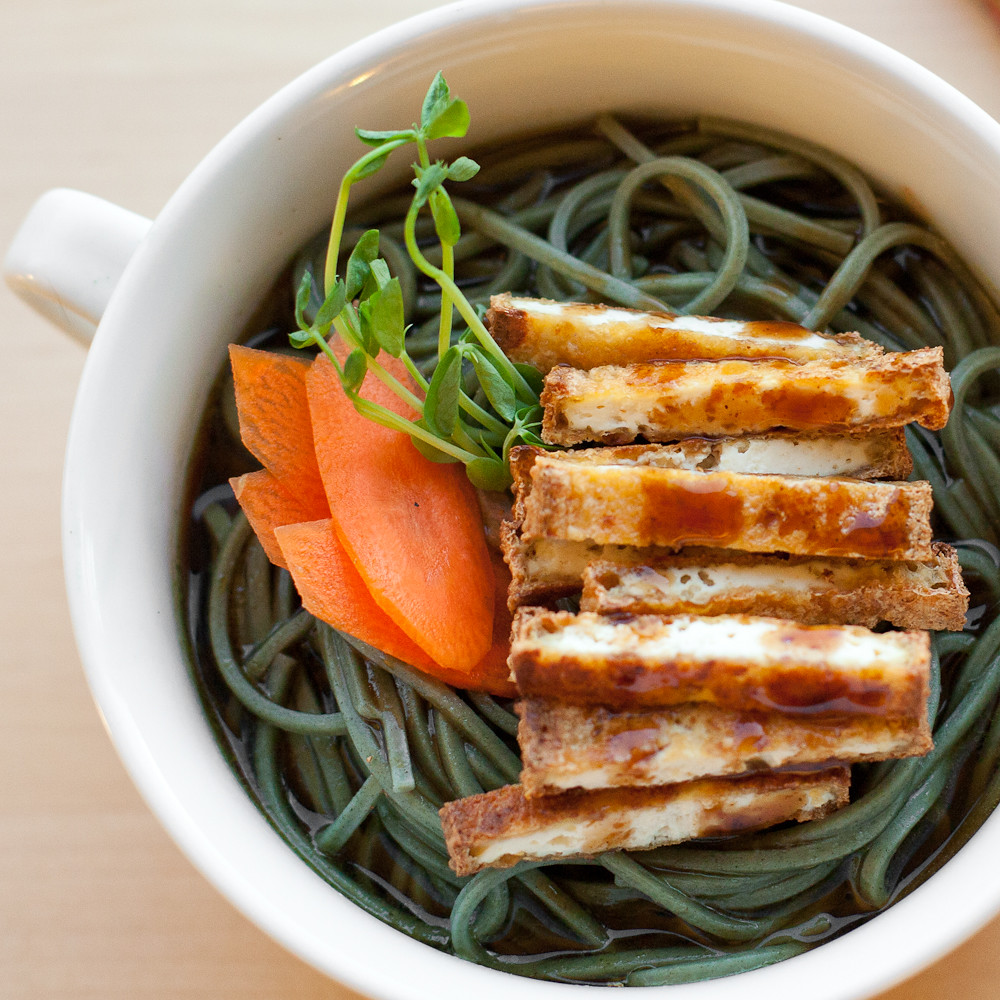
This isn’t a traditional recipe. This is a quick and dirty (read: easy and yummy) version of a hot soup made with soba noodles topped with deep fried tofu. Putting fried tofu on top of soba noodle soup makes it kitsune soba. Kitsune means fox in Japanese, and folklore says fox spirits are quite fond of fried tofu, hence the name “fox soba.” It’s delicious.
I like recipes that are flexible. Once you have the broth, the noodles, and the tofu, you can add whatever else you want on top. I chose to go light and easy, a few fresh pea shoots and thinly sliced raw carrots. Then I topped everything off with Bull Dog Sauce.
I’m pretty sure you’re not supposed to put Bull Dog Sauce on soba noodle soup. But I did, and it was good, and no one yelled at me, so I’m pretty sure you can do it too if you want. It’s sort of a like a Japanese steak sauce/bbq sauce. There are many different variations, but I used the Fruit and Vegetable Semi-Sweet version. You can find it at any reasonably stocked asian grocer, or you can get it online here.
So, here’s the thing about my version of kitsune soba. The flavor is anchored in the salty, sweet, gingery broth. The tofu and vegetables are there mostly for contrasts in color, texture, and temperature. Since everything is presented plain, the broth does most the heavy lifting in the flavor department, but it also allows the raw ingredients to shine on their own.
Kitsune Soba
Serves Two
Oil, for frying
1 Package Soba Noodles
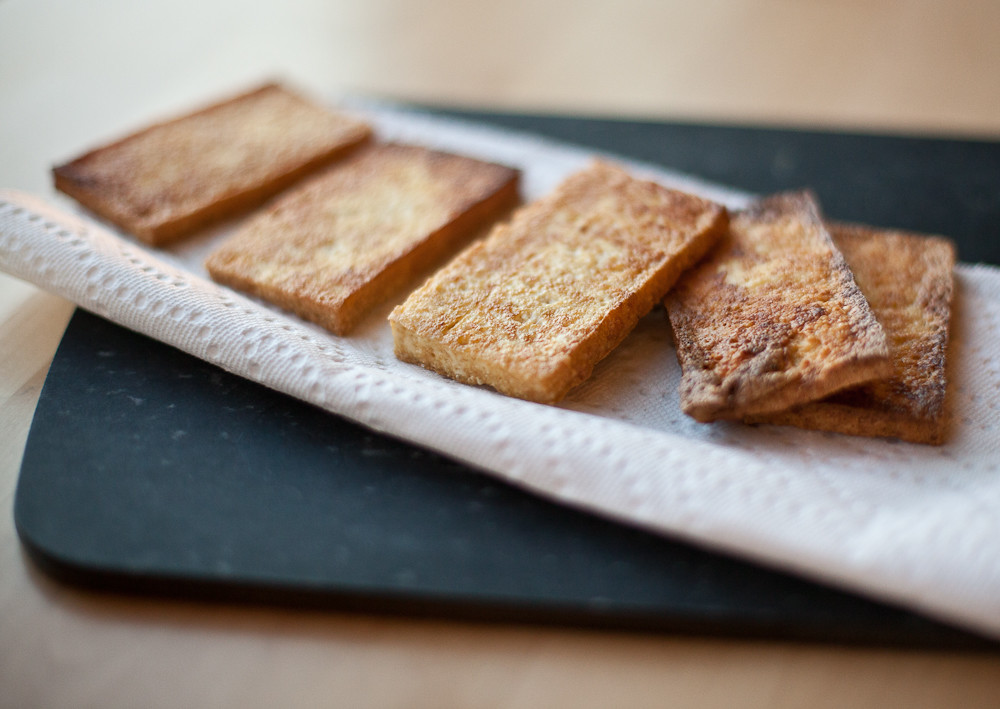
1/2 Block Extra Firm Tofu, sliced thinly
1 Small Carrot, peeled and sliced paper thin
Greens (microgreens, scallions, cilantro, whatever!)
Bull Dog Sauce, optional
Optional ideas: Sliced radish, sweet pepper, snow peas, cucumber
Broth
2 Tbs to 1/4 Cup Low Sodium Tamari (to taste, I used the whole 1/4 Cup)
1 Cup Water
1 Tbs Rice Vinegar
1 Tbs Sugar
1/2 Vegan Bullion Cube
1 Inch Ginger Root, peeled and sliced thinly
Add all the broth ingredients to a small pot and bring to a boil. Turn off the heat and place a lid on the broth while preparing the rest of the meal. This allows all the gingery goodness to steep into the broth.
Place a pot of lightly salted water on to boil. Meanwhile, heat a cast iron or non-stick pan with oil, just enough to cover the bottom of the pan. Fry the tofu slices for several minutes on both sides until golden brown and very very crispy. Drain on a paper towel.
Once the water is boiling, add noodles and cook to package directions or until noodles are tender. My noodles were done in only 4 minutes, but the package said 6-7 minutes, so check them early to avoid over cooking.
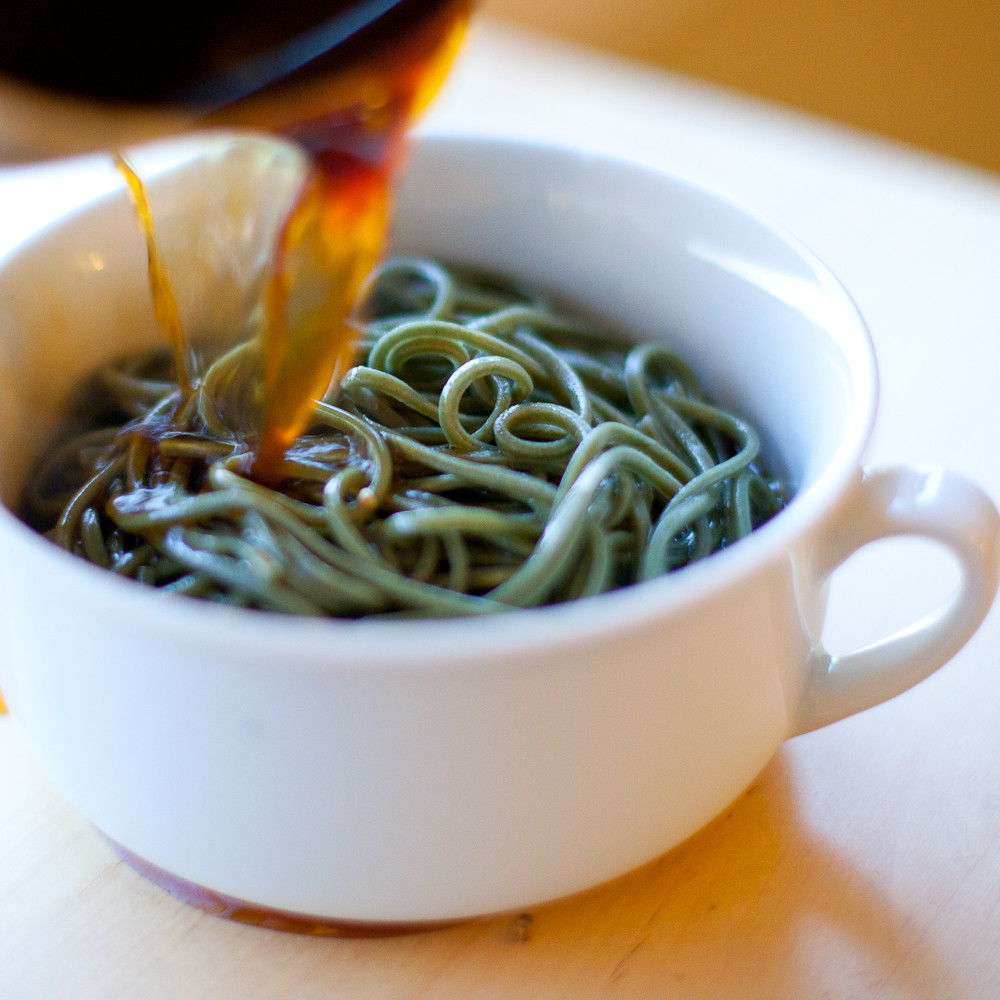
Drain the noodles and rinse with cold water. Place the noodles in bowls and pour the hot broth over them, straining out the ginger pieces. Top with the fried tofu, sliced, as well as your vegetables and greens. Garnish with Bull Dog Sauce, if using.
You can easily make every part of this ahead, so this is a nice option for company, and it looks fancy too!