I think we’re being taken over by fried green tomatoes. I’ve never had fried green tomatoes before. I went to the farmers market, and there was a lovely and beautiful looking pile of green tomatoes. I had to buy them. HAD TO.
So I get home and I ask my twitter pals if they’re interested in a FGT post. A lot of people responded they were, and then I was led to Susan’s latest post of baked green tomatoes. Then I found out my landlord made some for dinner that same night. At least two more people said they’ve been thinking of making them. Clearly this is a conspiracy.
A tasty conspiracy.
As I said earlier, I’ve never had fried green tomatoes. I love tomatoes, but only when cooked. The idea of eating under ripe tomatoes on purpose freaked me out a little. But then I thought, hey, these are fried? What could possibly taste bad after frying?
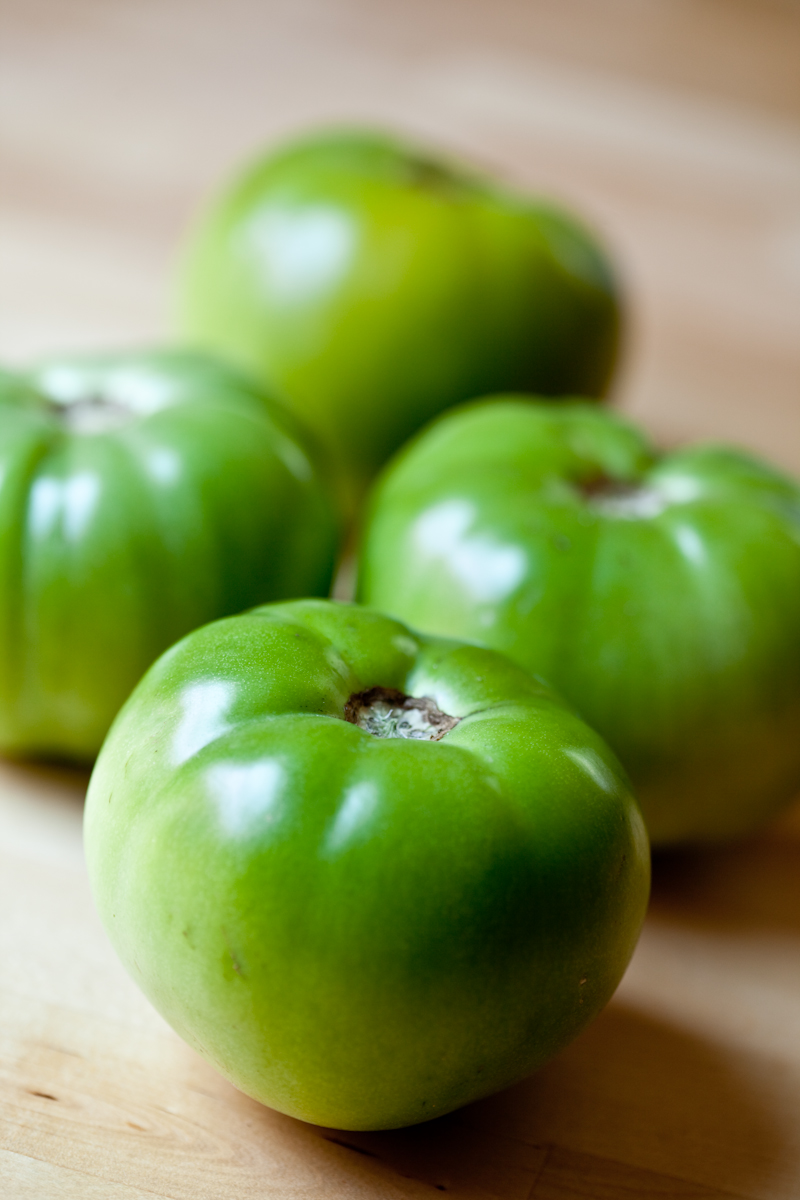
When shopping for green tomatoes, it’s important to pick up under ripe, very firm, completely green tomatoes. They should be about the same size as a regular tomato. Smaller green tomatoes will taste bitter, and there are varieties of tomatoes (particularly heirloom varieties) that can be green and ripe at the same time, so make sure you don’t rely on color alone.
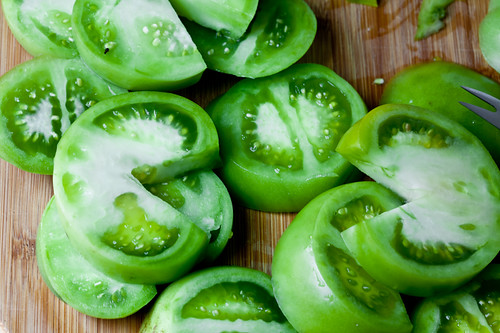
It’s a little disconcerting when you cut into a tomato and it sounds like a crisp apple, but that’s exactly what you want for this recipe.
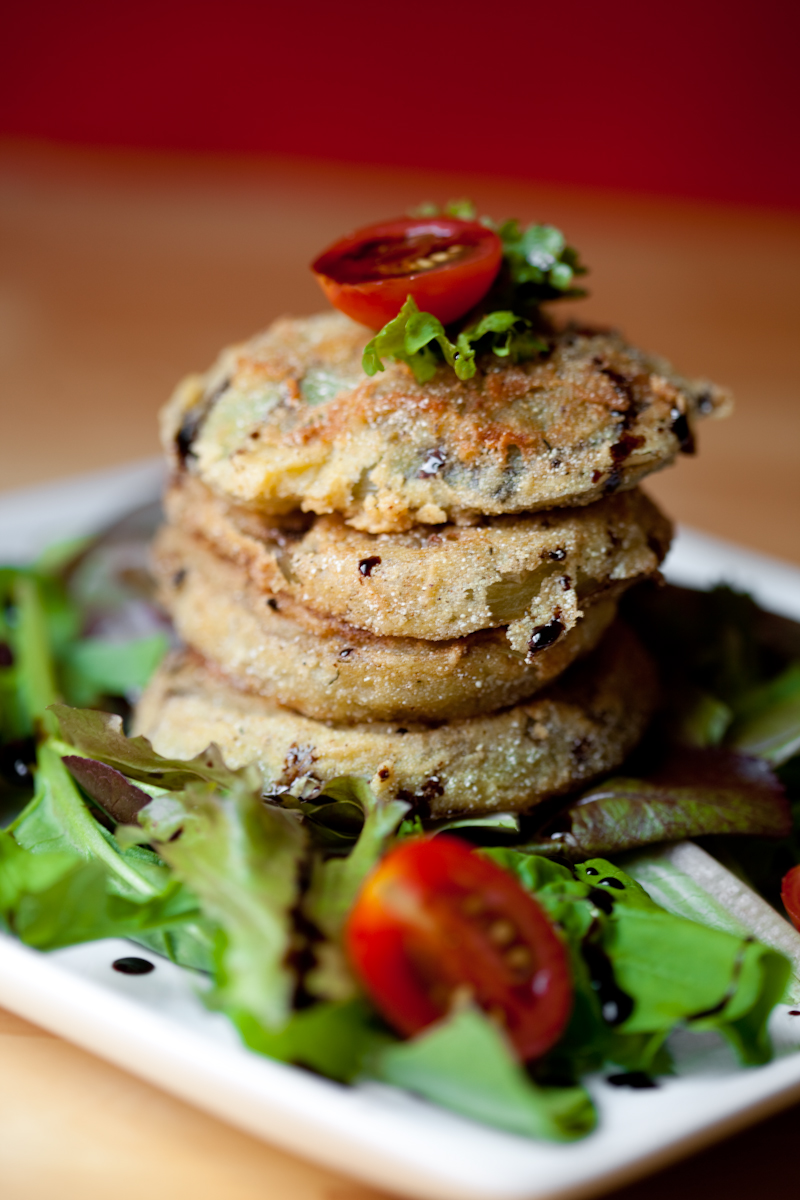
After frying, they’re surprisingly tasty. They are sweet and tangy, still firm, and juicy–almost citrusy. The salty breading sets them off really nicely, and I topped them with a homemade balsamic glaze. They’re perfect for a light summer lunch or dinner when paired with some delicate baby greens, but they’re easy enough to make as a side dish.
Fried Green Tomatoes
Makes about 20 slices
4 Large, Under Ripe Green Tomatoes
Oil, for frying (peanut or canola)
Baby Greens, for serving
Cherry Tomatoes, for decoration
Balsamic Reduction (see recipe)
Breading Dry Mix
2 Cups Corn Flour/Meal
1/2 Cup All-Purpose Flour
1 Tbs plus 1 tsp Salt
1 Tbs Dried Italian Seasoning
1 tsp Fresh Cracked Black Pepper
Breading Wet Mix
1 Tbs Ener-G Egg Replacer Powder
3 Tbs Boiling Water
1/2 Cup Non-Dairy Milk
Core the green tomatoes and slice in to 1/2″ slices. If desired, season each side lightly with salt and pepper.
Lay tomato slices on paper towels and pat dry.
Mix together the dry seasoning mix and set aside.
Combine the boiling water and egg replacer powder and whisk until thick and foamy. Add to a separate large bowl. Whisk in the non-dairy milk until thick and frothy. Set aside. You should now have two bowls, one with the dry breading mix and one with the wet.
Heat a large cast-iron skillet until hot but not smoking with 1/4 to 1/2″ of oil in the bottom.
Dredge the tomato slices, four at a time, in the wet batter mix. Then place them into the bowl with the dry batter mix, pressing to make sure it sticks. Fry four at a time for 3 minutes a side, or until golden. Drain on paper towels.
Stack the fried green tomatoes on baby greens with sliced cherry tomatoes. Drizzle with balsamic reduction. Serve warm, while breading is still crispy.