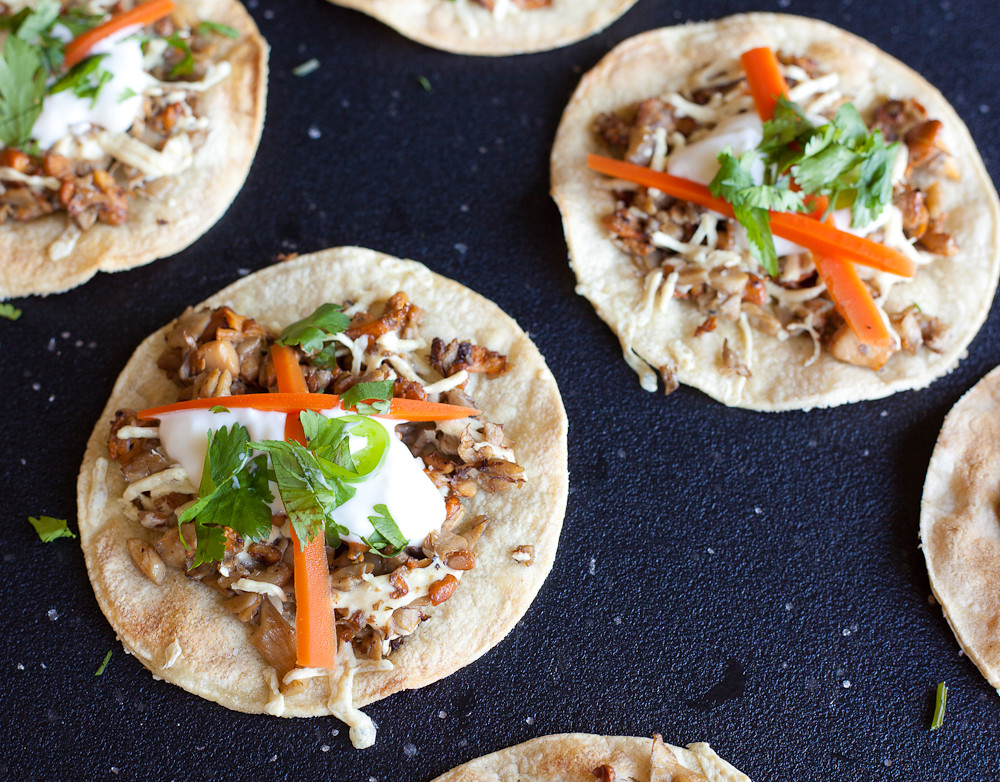
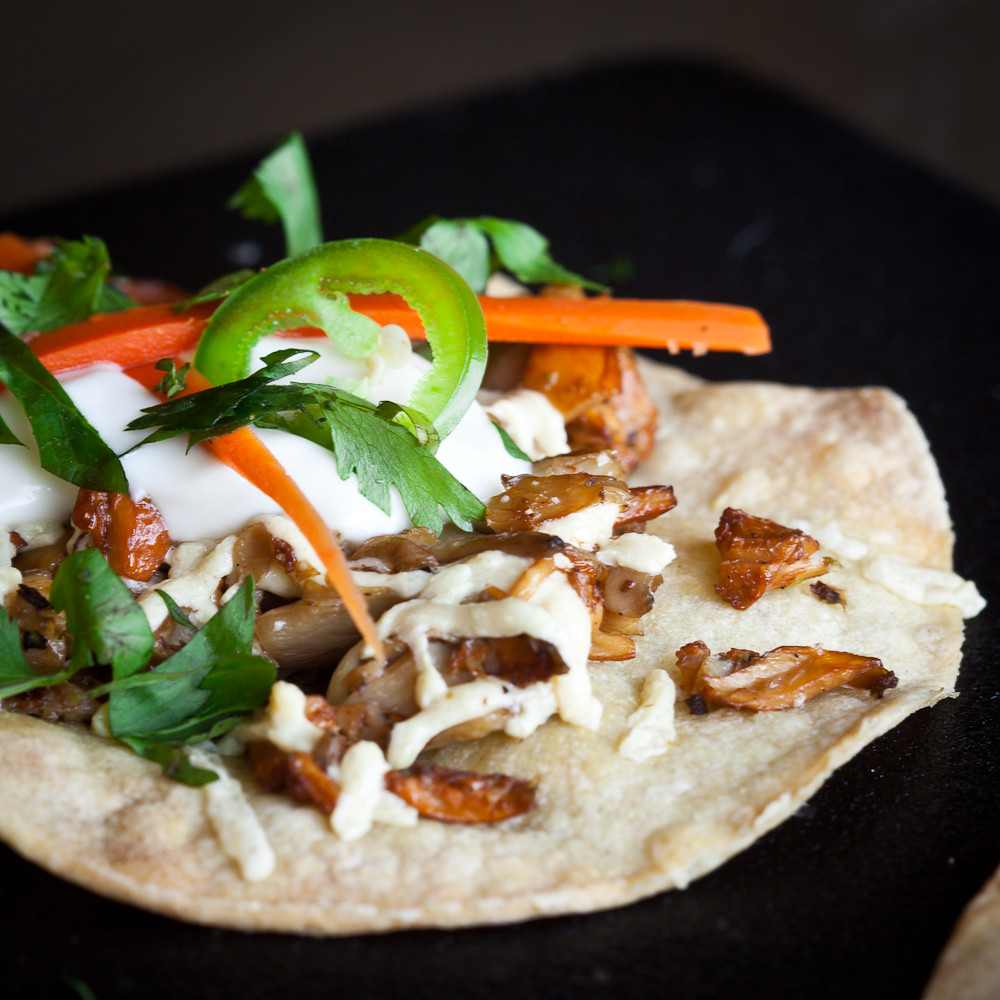
Wild Mushroom Tostadas with Lime Creme Fraiche
It’s mushroom season!
I recently went on a wild edible plant walk here in the Boston area, and our guide told us that the best time to find mushrooms is between Labor Day and Columbus Day. We didn’t find any mushrooms on our walk, but he did get me thinking about making a recipe to show them off. I’m really interested in learning more about local wild, edible plants, so hopefully I’l be rooting around in the woods for some fungus soon.
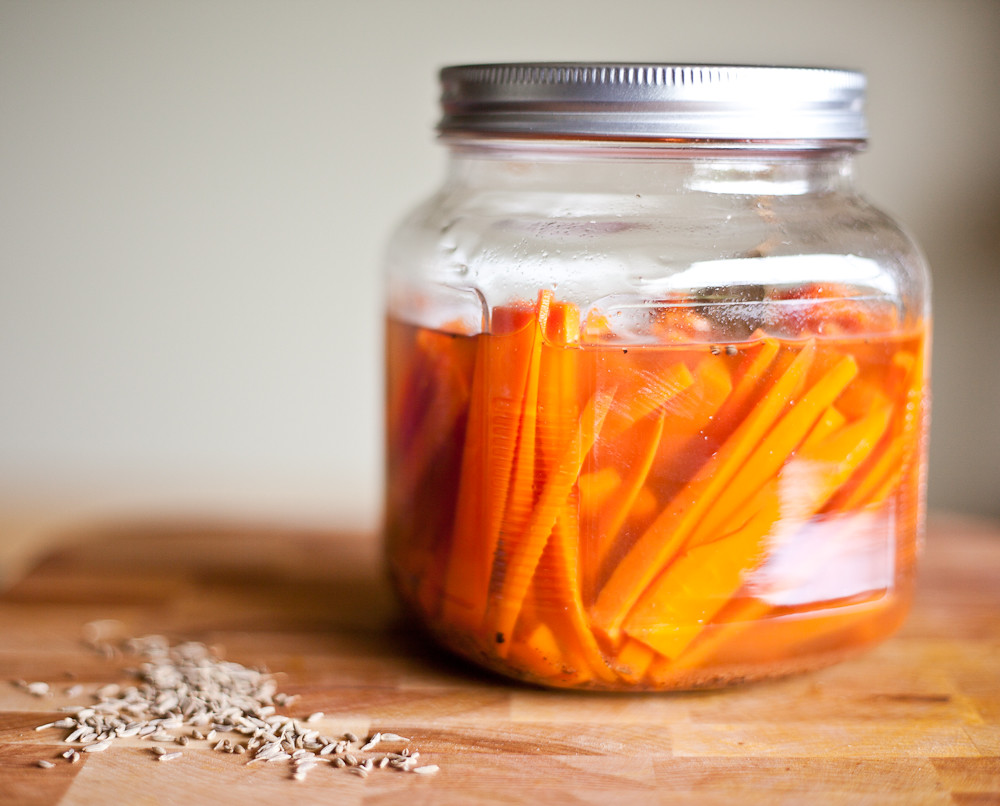
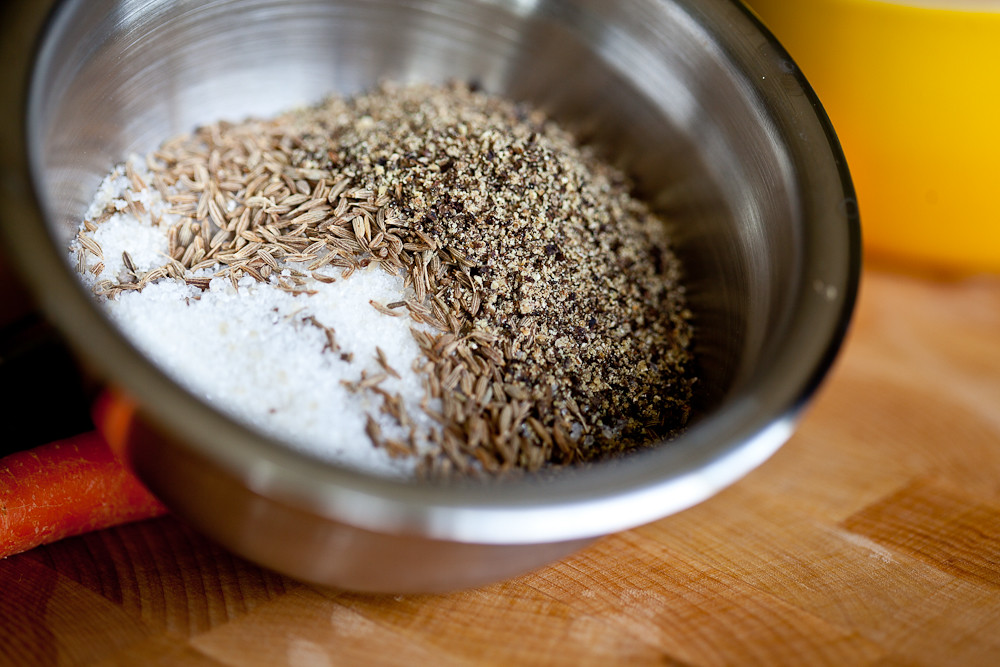
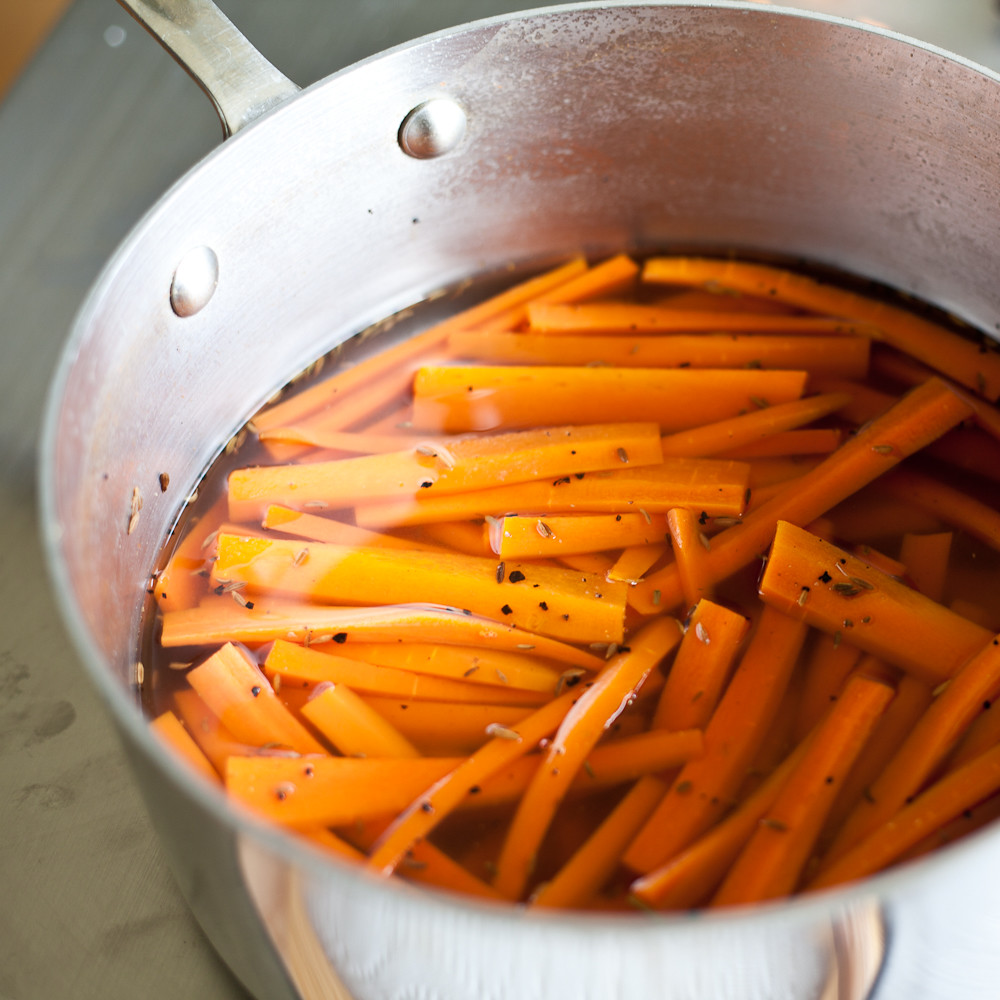
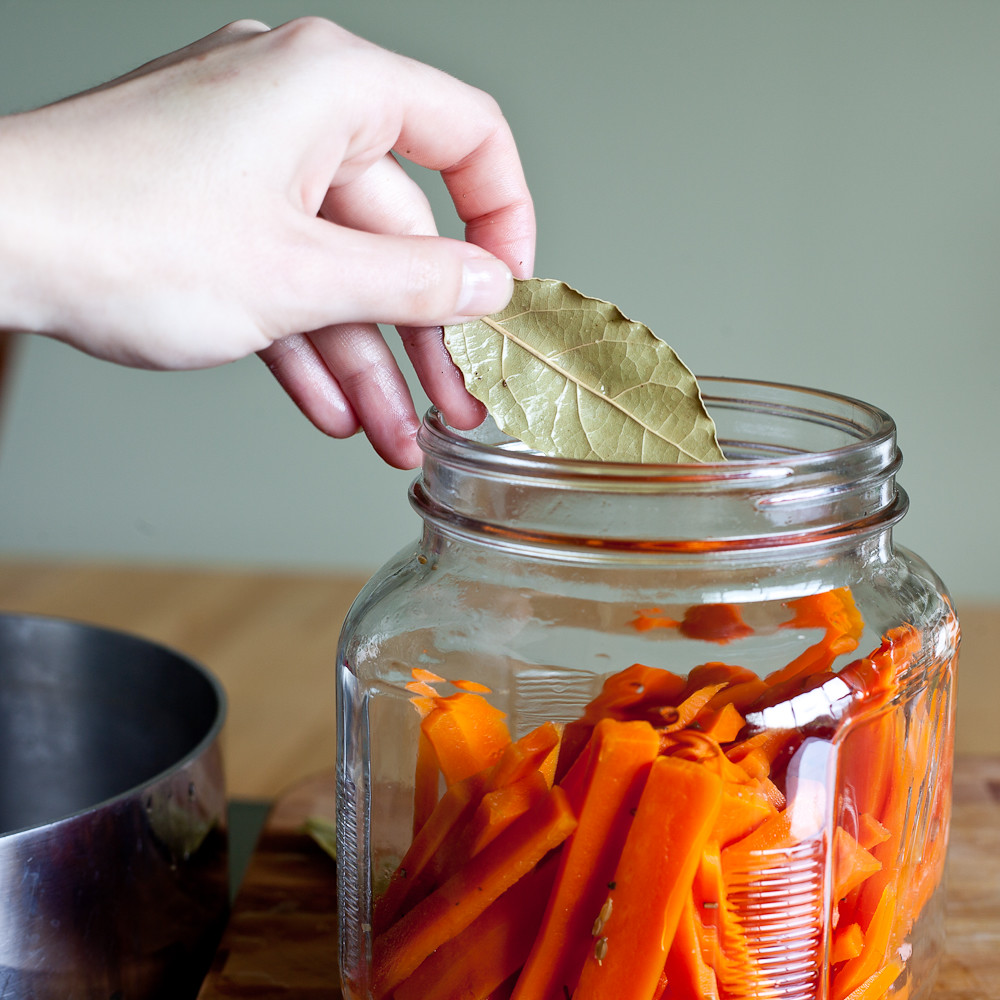
And if you made the black pepper and cumin pickled carrots from last week, here’s a recipe to try them with.
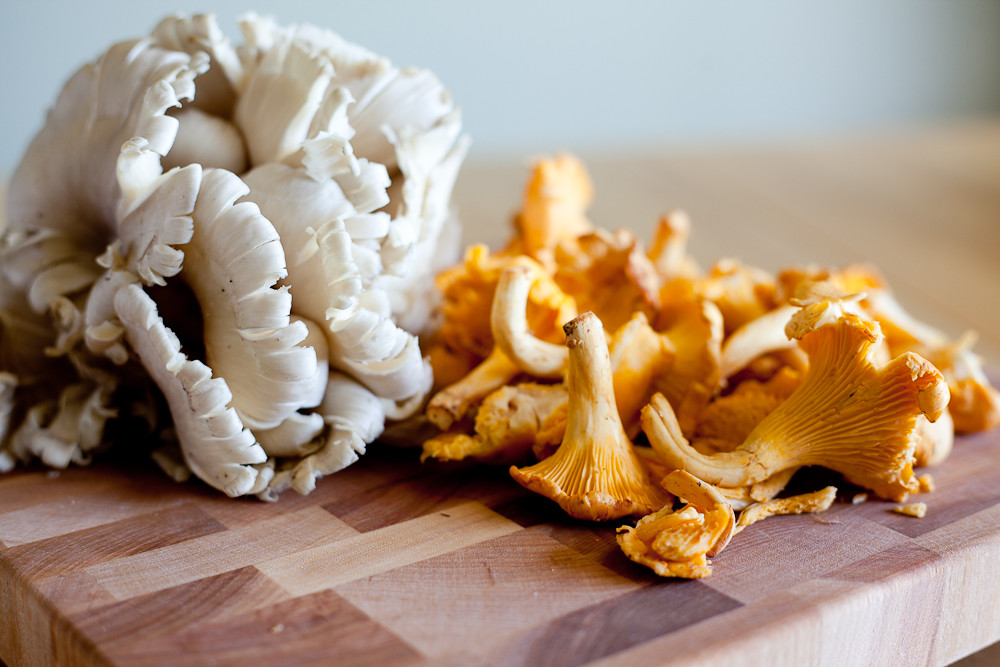
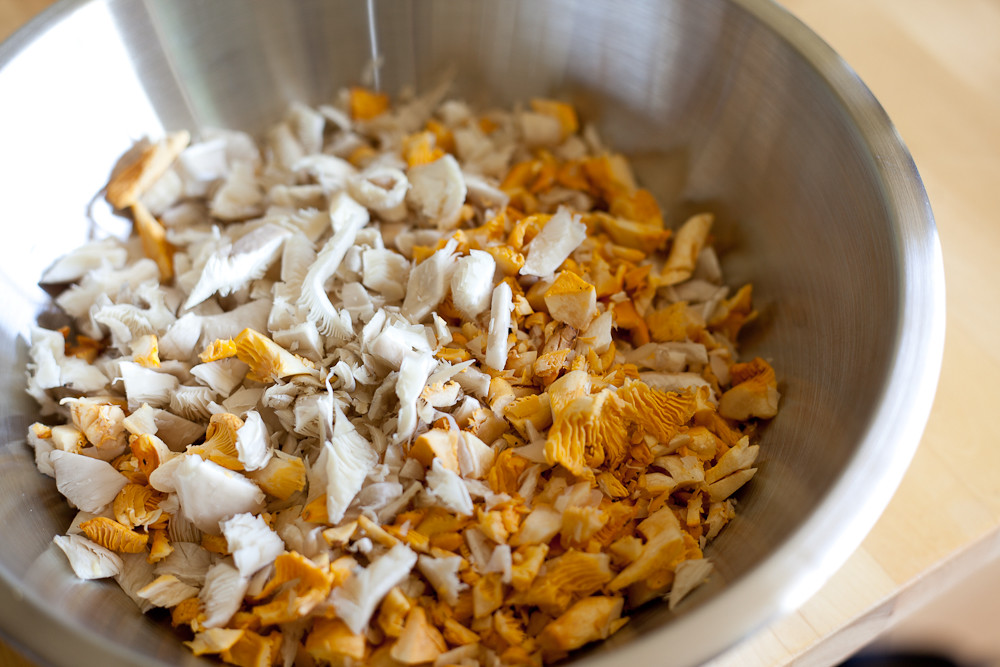
Any wild mushrooms will do for this recipe, but I picked out two of my favorites today: oyster mushrooms and chanterelles.
Oyster mushrooms can be cultivated, so you are likely to find them outside of peak mushroom season. This also helps make them a bit more affordable than wild harvested mushrooms, but they are still many, many rungs up the ladder from the budget workhorse that is white button mushroom. If you are interested, there are many resources online that describe how you can grow oyster mushrooms yourself, at home.
Chanterelles, however, do not cooperate with human cultivation. This means the mushrooms you see in the store were growing wild in a wood somewhere before they reached the shelves. The effort it takes to locate and collect them, their wonderfully complex flavor, and their perishable nature contribute to their price tag.
A note about using wild mushrooms: if you’re super squicky about eating a little dirt, this may not be the best food for you. Washing mushrooms makes them soggy and sad. I pick off anything that’s big enough to be picked off, and then chop it up and cook away without thinking too hard about what might be on them. As long as the mushrooms are not slimy, don’t have any overly soft spots, aren’t hiding bugs, and don’t smell off… they are declared clean in my kitchen. A little dirt from the middle of a forest won’t hurt you.
And if you found your own, just be careful! Make sure you know what you have before you eat it.
Wild Mushroom Tostadas with Lime Creme Fraiche
Makes Six Tostadas
Six Corn Tortillas
Wild Mushroom Filling (recipe below)
Lime Creme Fraiche (recipe below)
1 Jalapeno Pepper, sliced thinly
1 Small Bunch Fresh Cilantro Leaves, roughly chopped
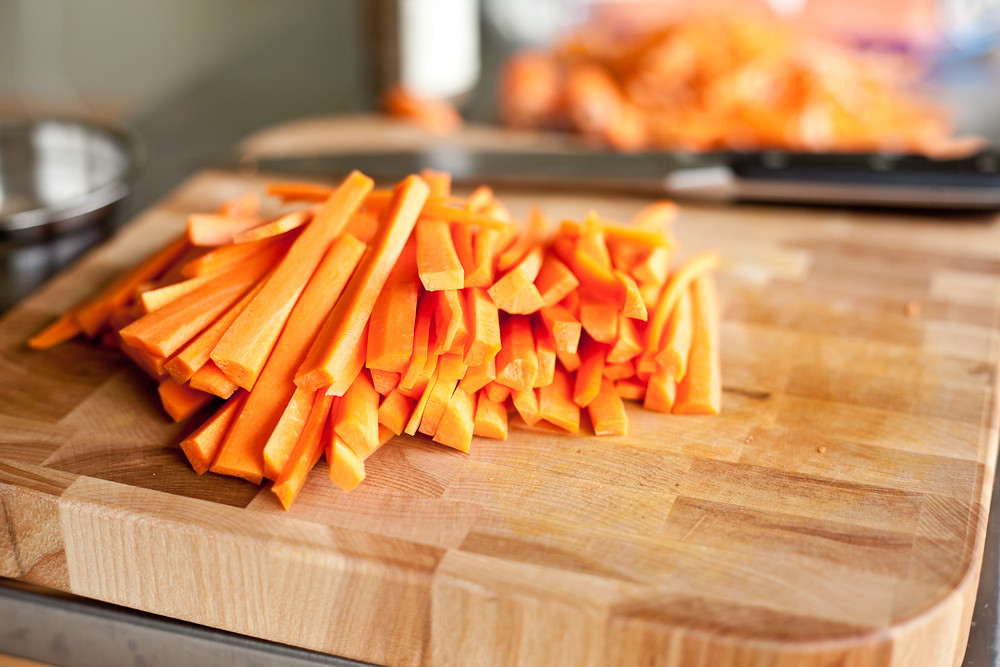
12 Pickled Carrot Sticks (recipe here)
1 Cup Daiya Vegan Cheese Shreds
Oil
Wild Mushroom Filling
340g or 3/4lb Wild Mushrooms, weighed after trimming
1/4 tsp Salt
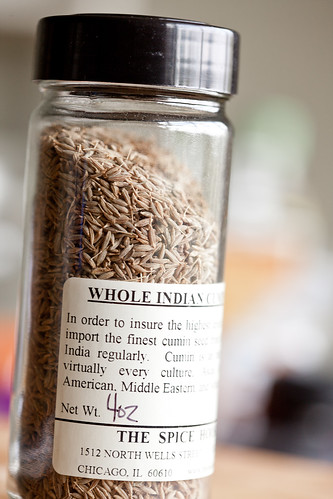
1/4 tsp Ground Cumin
1/2 tsp Dried Oregano
1 tsp Earth Balance Spread or Oil
Black Pepper
Lime Creme Fraiche
4 Tbs Tofutti Cream Cheese
4 Tbs Vegenaise Mayo
1 Tbs Fresh Lime Juice
Arrange the racks in your oven so one is in the middle and one is in the highest position. Preheat oven to 400 degrees F.
Chop your mushrooms into a medium to small dice. Add them to a dry skillet over medium high heat. The mushrooms will begin to release moisture after a few minutes.
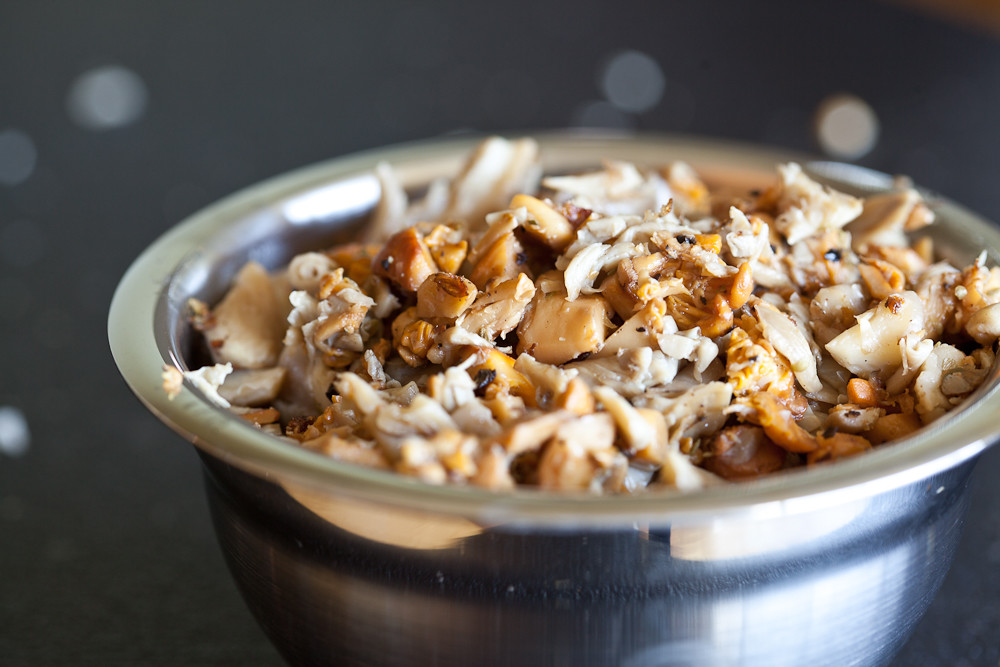
After 3-4 minutes of cooking, add the salt, cumin and oregano. Keep an eye on the mushrooms and stir them every 10-15 seconds. Once most of the moisture has cooked out and they begin sticking to the bottom of the pan, about 7 minutes of total cooking time, add the Earth Balance and mix well. Remove mushrooms to a bowl and set aside.
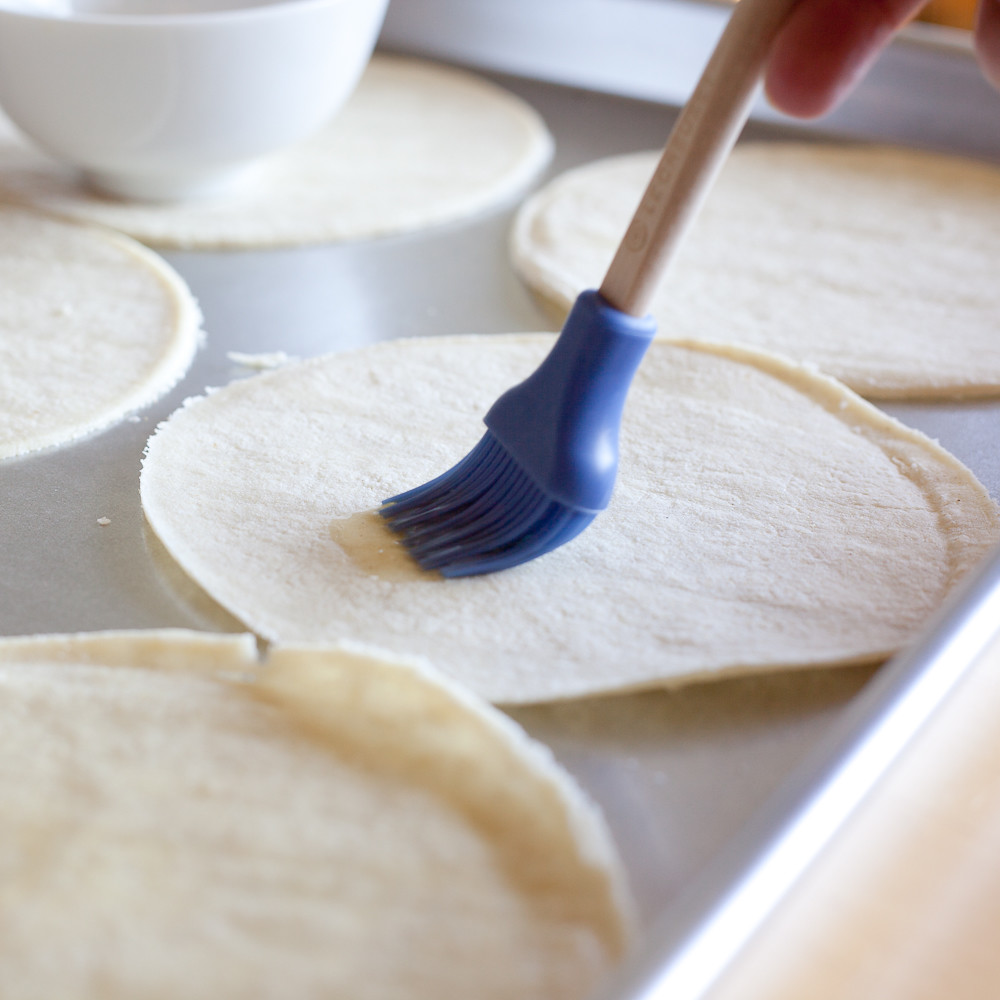
Place six corn tortillas on a baking sheet. Brush both sides very lightly with olive oil. Put tortillas in the middle rack of the oven and bake for approximately 8 minutes. The edges of the tortilla should be beginning to curl and they should only barely have the slightest hint of color. Remove from oven.
While the tortillas are baking, mix together the ingredients for the creme fraiche and refrigerate until ready to use. It will take a lot of whisking to get the mixture smooth, but it will happen if you keep at it!
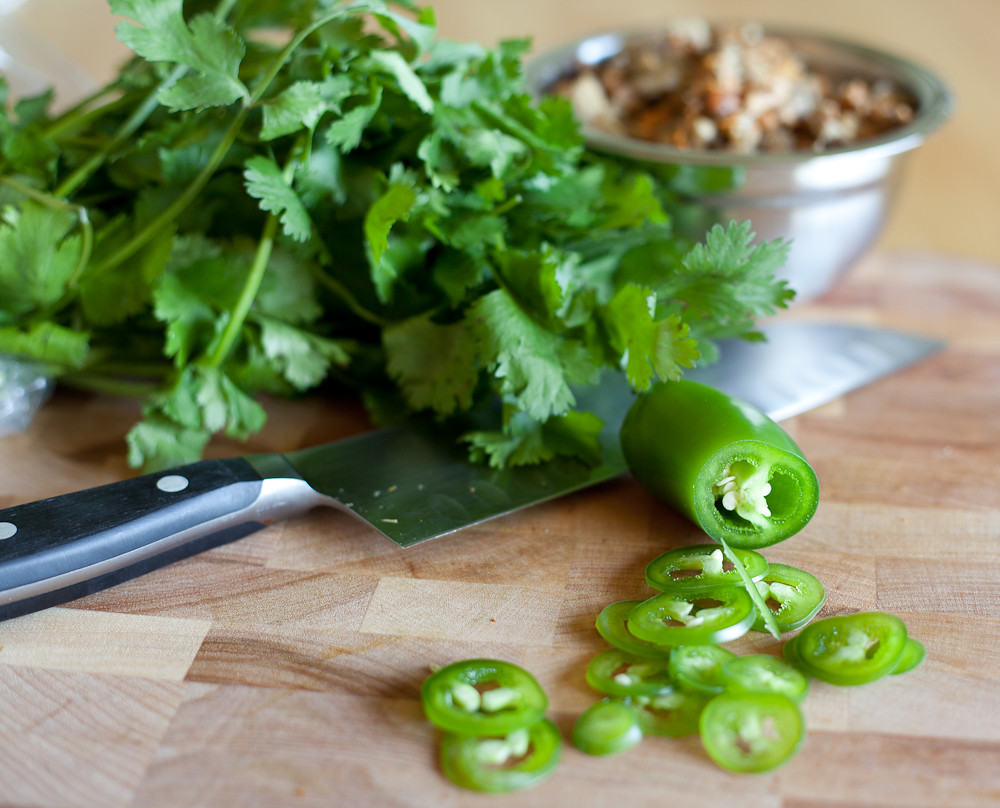
Once your tortillas are out of the oven, change the oven to the broil setting. Get everything ready for assembly: sliced jalapenos, cilantro, carrot sticks, cheese, creme fraiche, mushrooms.
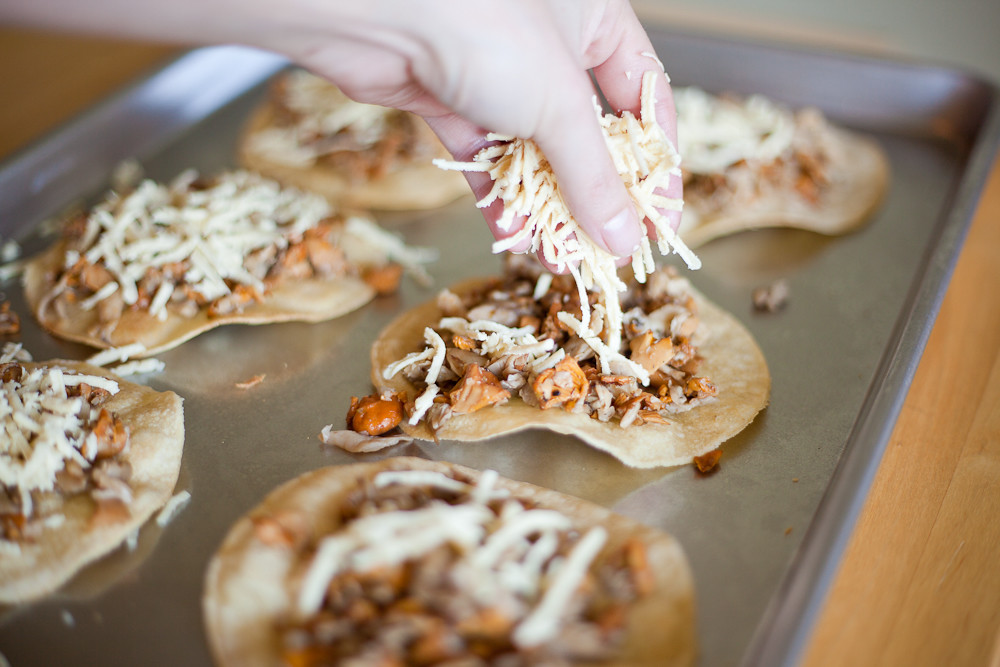
Evenly divide the mushroom mixture across the tortillas. Top with a little vegan cheese. Place in the oven, this time on the very top rack, to broil. DO NOT WALK AWAY! Watch them as they cook until the cheese is melted and the tortillas are golden brown. Remove immediately.
Top each tostada with a dollop of the lime creme fraiche, some cilantro, a slice or two of jalapeno, and two picked carrot sticks. Serve immediately.