Potluck Preparation – Mango Chutney
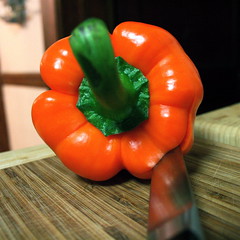
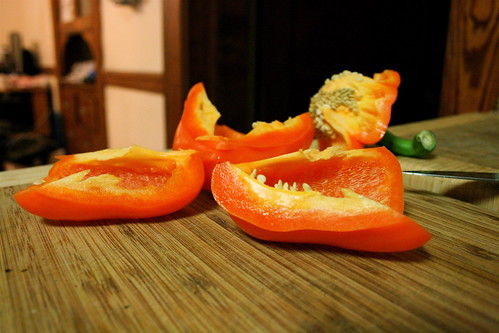
Tomorrow is the second PPK potluck, and this time the theme is orange – flavor or color. I decided to make mini samosas with mango chutney. If a little chutney is good, certainly a lot of chutney is better. I’ve been reading up on home canning recently and decided a high-acid food like mango chutney would be a great introduction to preserving food.
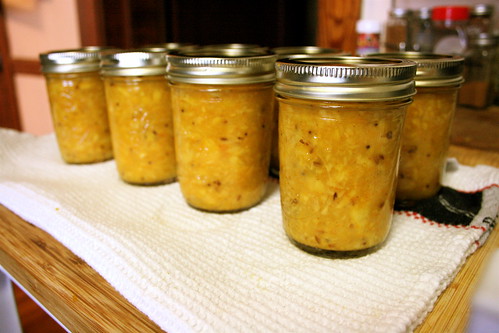
 I now have 8 half-pint jars of homemade chutney ready to go, but I fear the samosas will need to be prepared by my husband Stewart. When canning, you should really use the proper equipment. Jar lifters are indispensable. I decided that tongs and a oven mit would be just fine until I got a jar lifter. Oh, how wrong I was! The jar slipped from the tongs and splashed boiling water inside my heat-proof water-proof mit, burning me thoroughly. If you’re going to try home canning, please spend the $5 for a jar lifter. Please.
 Despite the whole painful injury thing, home canning is fun. I’ll post a full write up on it once I’m able to complete the process with properly fuctioning limbs. The photo to the left shows my chutney processing in a boiling water bath, which does double duty killing any unwatned bacteria and forming a vacuum seal. Tomorrow I’ll be able to check to make sure my seals are tight, but until then they sit undisturbed in the kitchen.
This chutney, as long as the seals test okay, will keep for at least a year. How exciting! I can’t wait to try more home caning (after my hand heals, of course.)
Tomorrow night I’ll have a full update on the Boston Orange themed potluck, pictures and all. I hear there will be cake and pies galore, root beer floats and even orange pizza. I’m very excited. If my hand is up to it, I might even make some donuts.