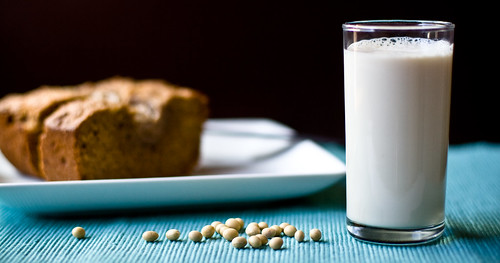
Homemade Organic Soymilk
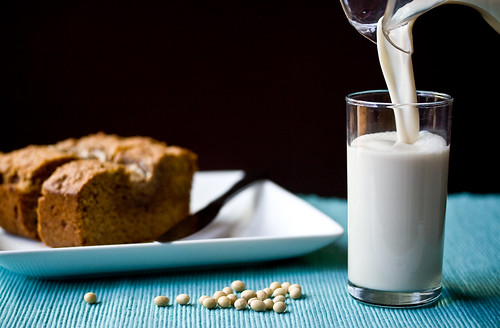
When I decide to do a food experiment, I’m pretty good at predicting how the final product will turn out. I’ve been thinking about making my own soymilk for a while now, even though I was pretty sure I wasn’t going to like the end result. So I spent some time looking for tips on how to make the best tasting soymilk at home. With those tricks up my sleeve, I started soaking the beans last night and crossed my fingers, hoping my initial prediction would be wrong.
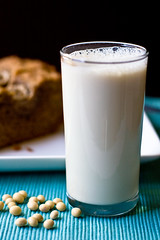
But I was right. As pretty as my soymilk is, I wouldn’t drink a glass if you paid me.
Now, it’s not terrible. It’s not even bad. It’s just different. I was REALLY hoping I’d be all “homemade soymilk tastes better!” and “commercial soymilk sucks!” but sadly, my palate is keenly attuned to Silk brand soymilk, which has been processed and messed with to such a degree that I think it might be impossible to replicate it at home.
 It bums me out that I like commercial stuff better, but them’s the breaks.
Usually I don’t share recipes on my blog that I don’t approve of (on the rare occasions that I do, I’m not shy about saying so), but I think the process of making soymilk is interesting. I thought you might like to see how you can make it at home without a fancy $100 machine. I hear the machines are great, mind you, but if you’re considering buying one you should definitely give this a go before you invest in one to make sure you’ll like the taste.
And just because I don’t like the taste of homemade soymilk, it doesn’t mean you won’t. It’s… beany. And… well? Beany is the best word for it. I’m also hoping that someone who makes tasty soymilk at home all the time will read this, discover a flaw in my recipe or technique, and give me the secret to tasty soymilk. This was my first time making it, afterall, so it’s possible the I just screwed the whole thing up.
Soaking the beans
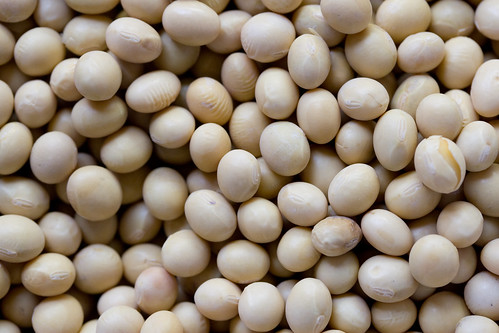
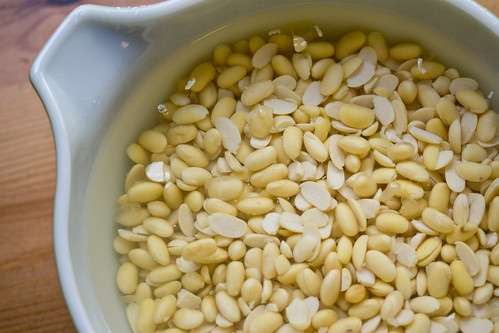
Right. So the first thing you’ll need is organic dried soybeans. I hear there’s a particular variety called Laura soybeans that have a better taste, but they’re expensive and only available online. I picked mine up at my local grocery store in the bulk section. The night before you make your soymilk, soak the beans in a large amount of cool water overnight.
 It’s amazing how much water these babies soak up, so give them ample space to expand. If you’re going to soak them for more than 8-10 hours, soak ‘em in the refrigerator. They’ll keep refrigerated for a few days, just change the water whenever you think of it. (At left: dry vs. soaked)
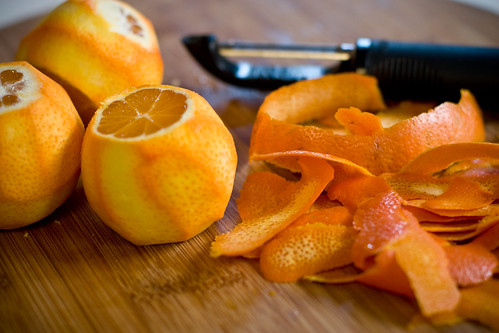
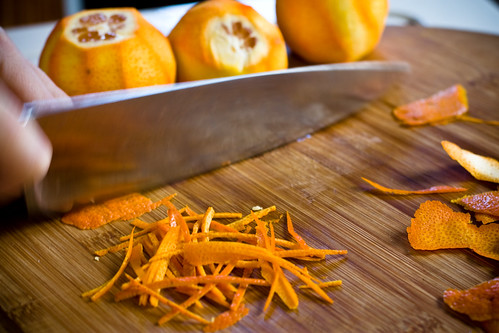
Removng the Skins
I read that you can reduce the beany taste of your soymilk by removing the skins before blending them with water. They were supposed to “slip right off” after soaking, but mine required a fair amount of agitation to remove. I ended up scrubbing them mercilessly between my palms, like I was washing the plague off my hands, but, you know, with soybeans instead of soap. After about 10 minutes I gave up.
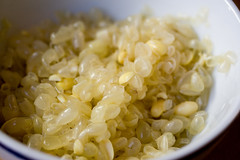 After removal, the skins were also supposed to float to the top of the water for easy scooping, but mine didn’t seem to be all that buoyant. To separate them from the beans, I ran the faucet at full-tilt into the large pot the beans were in, so that the overflowing water would carry the skins with it. That worked alright, but I did need to use a slotted spoon to help the process along. I think I removed just over a cup of skins, and I’m sure I didn’t get all of them. Below is a bowl full of throughly abused soybeans.
Blending the Beans
Now it’s time for blending. I have a crazy Vita-Mix blender, which pulverizes anything in its path. I think that a regular blender will work fine for this. Your okara (the bean pulp, more on that in a second) might not be as fine, but that probably makes for easier straining. You’ll need to blend in batches:
1 Batch, for 1+ Cup Finished Soymilk*:
1 Cup Soaked, Skinned Soybeans
3 1/2 Cups Water
Let your blender run for at least two minutes. You want to make the mixture as smooth as possible. If your blender won’t fit the batches as measured above you can blend less, but keep the proportions of beans:water the same. I made two batches.
*It’s possible I over-reduced my soymilk by simmering it too long and/or failing to use a lid, which may be why the flavor is so intense. Boil yours with a lid for a higher yield.
Straining
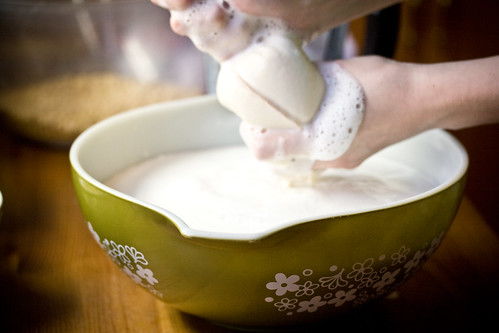
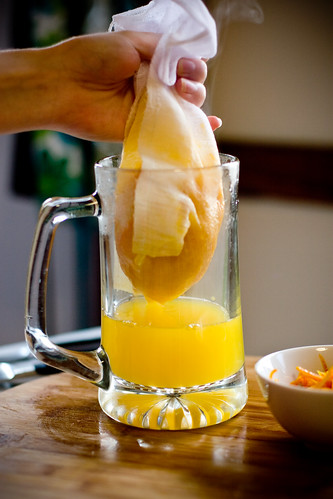
Strain your blended soymilk into a large bowl. I used a nutmilk bag, which is essentially a fine mesh bag with drawstring that strains out even the even very tiny particulate. If you don’t have a nutmik bag, use several layers of cheesecloth, or a very fine chinois strainer. You can not over-strain your soymilk.
Really. I strained mine five times: three times before cooking and twice after it was finished and cooled.
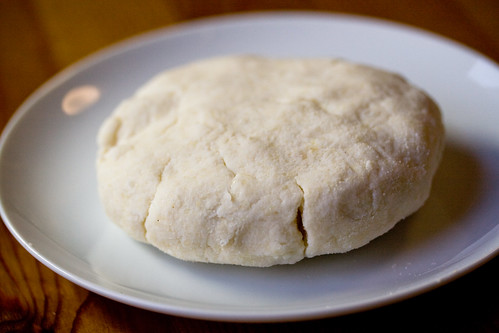
The pulp leftover from straining is called okara. There are many recipes that call for okara, so save it to use later. Keep in mind, though, that many recipes call for okara that comes out of soymilk machines, which is cooked okara. This okara is raw and REQUIRES cooking of some sort to break down/neutralize nasty enzymes that we humans can’t digest very well. I think I’m going to try Susan V’s Okara “Crab” Cakes, myself!
Boiling the Milk
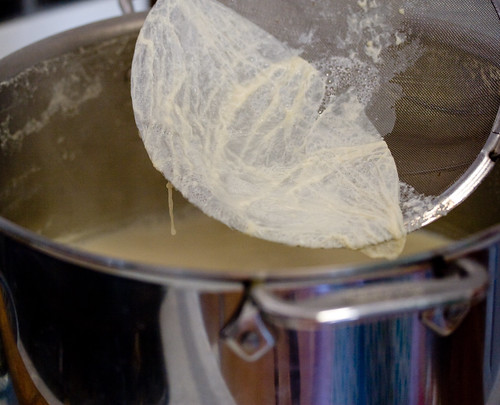
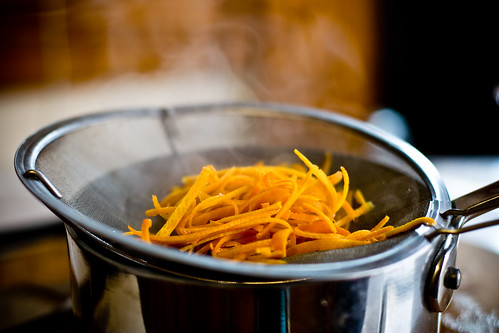
Bring your strained soymik to a boil. Once it’s simmering, cook it for 20-30 minutes. While it’s cooking, yuba (a skin) will form on top. Skim it, and any foam, off. Yuba is edible, an a lot of people really enjoy it, so check out recipes for that, too!
Flavoring, Cooling and Storing
At the end of cooking, flavor your soymilk. I added a pinch of salt and a scant tablespoon of sugar. Add a little bit at a time and taste it as you go until you reach the flavor you like the best. Transfer it to the refrigerator and cool. After cooling, I strained mine again to remove any extra yuba that had formed, and removed even more particulate that had settled at the bottom. Your soymilk should last about a week in the fridge. Glass containers with lids are best
Final Thoughts
I’m pissed that I don’t like it more, but it was a neat project. It was only recently that I realized it was even possible to make soymilk at home. I think I’ll stick to buying mine. I’ve had great success making nutmilks at home (specifically almond milk), and they’re not only easier to make but really, really tasty to boot. If I try to make soymilk again, I might add rice, or oats, which I hear helps the reduce the beany flavor, but other than that, I’m not sure how much more palatable I can make it.
Soymilk experts, any advice?