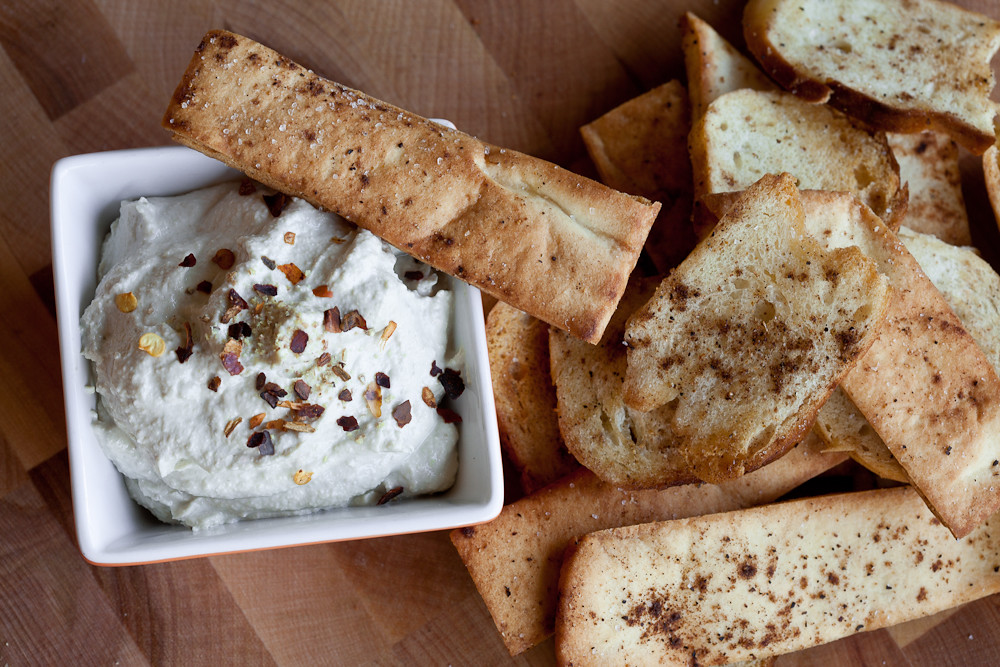
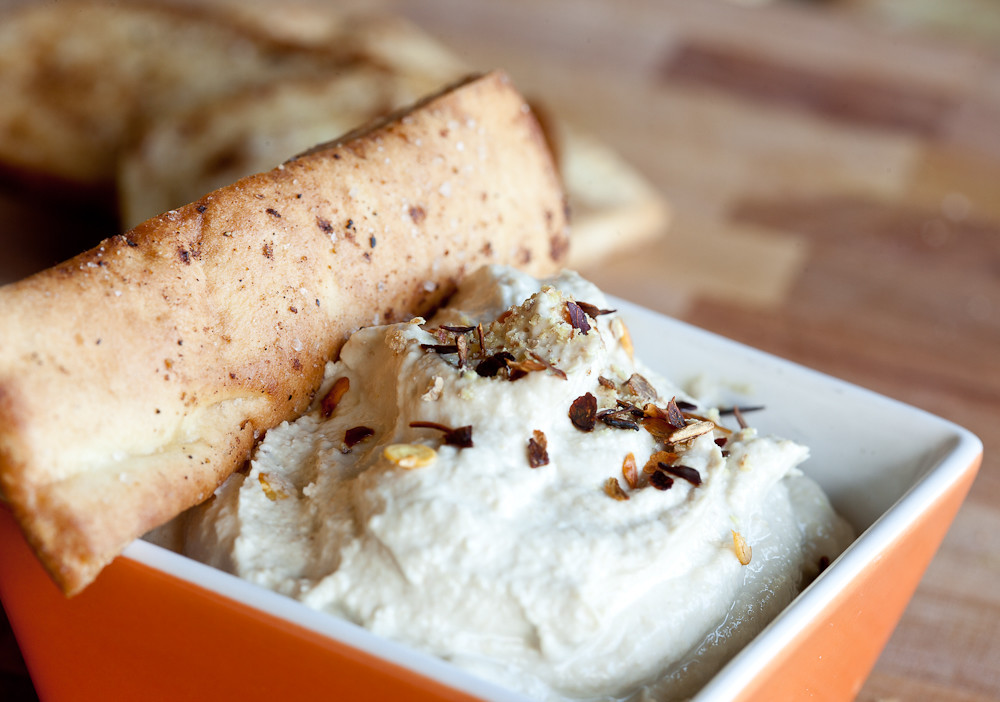
Curried Chips with Lemon Sunflower Spread
Here’s a quick little snack I whipped up today to use up bagels and pita bread I (stupidly) bought before going out of town. Bagel and pita chips are really easy to make, and you can spice them however you like.
I also bought some roasted sunflower seeds, but had a hard time imagining how I could make it through 1 1/2 cups of them before they went bad. Clearly I’m not the most practical shopper.
I used garam masala to flavor my chips, but you should treat any spices (and especially, any ground spice mixes you have) as fair game for this recipe. Smoked paprika? Old Bay? Japanese seven spice? Celery salt? So many possibilities.
The sunflower dip has fresh lemon, ground white pepper, and a dash of tabasco. Here again is a lovely blank canvas for you to experiment with. If I had it available I would have added some freshly chopped mint. Roasted garlic or fresh scallions would make a lovely addition as well, for people who are normal and like those sorts of things (i.e. not me).
The dip is really rich and reminds me a lot of tahini (sesame seed paste) but without the bitter taste. If you want an even more pronounced lemon flavor, add the zest. This dip can also be thinned out to form a dressing, used as a sandwich spread, or as stand in for hummus.
Curried Chips with Lemon Sunflower Spread
Makes about 1 cup of spread and 4 cups of chips
For the Chips
1 Bagel
2 Pita Bread Rounds
2 Tbs Olive Oil
1/2 – 1 tsp Garam Masala, or other spice mix
Salt
For the Spread
1 Cup Roasted, Salted Sunflower Seeds (shelled)
1 Tbs Olive Oil
Zest of 1 lemon, optional
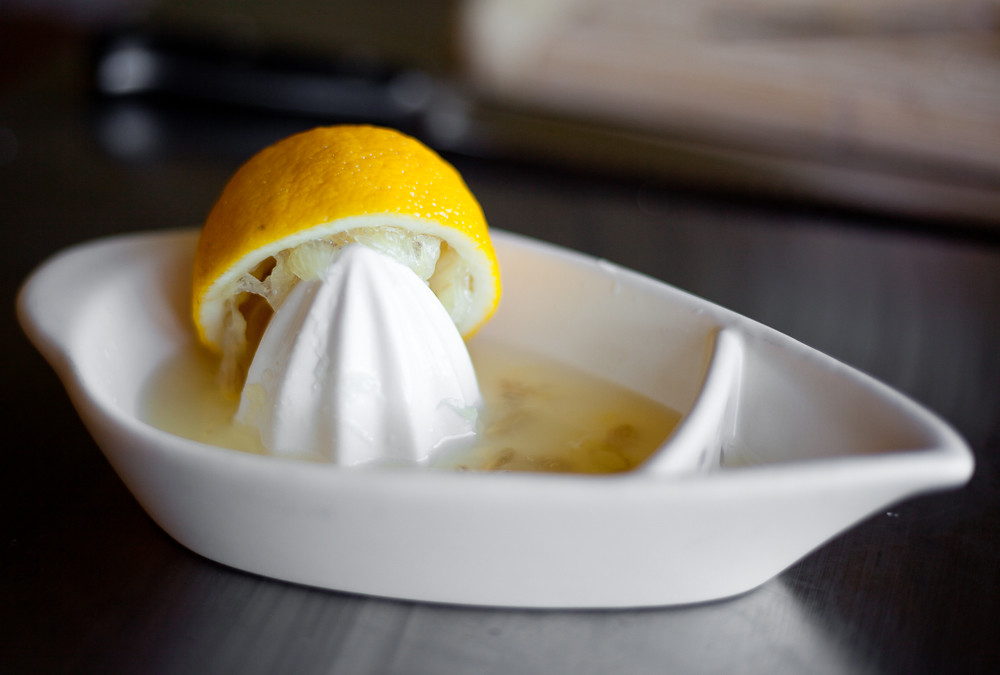
1/4 to 1/3 Cup of Lemon Juice (2-3 lemons)
1 Cup Water
1/4 – 1/2 tsp Salt
1/4 tsp Tabasco, more if desired
White Pepper
Fresh Herbs (optional, such as mint, scallions)
Preheat the oven to 350 degrees F.
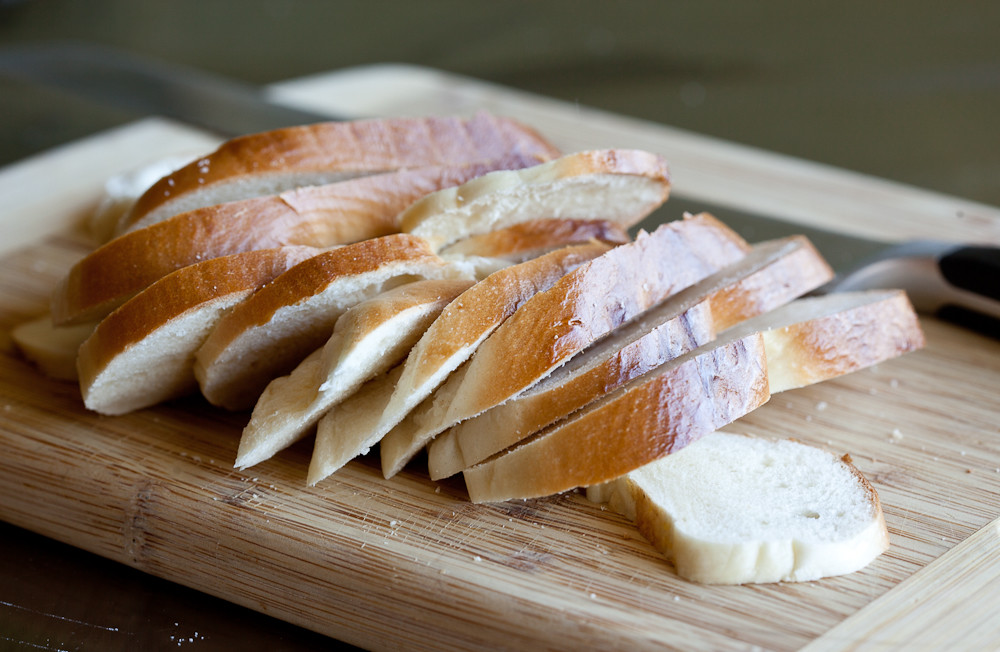
Slice your bagel into thin slices about 1/4 inch thick. Slice the pita bread rounds in half. Stack the halves and slice into 1 inch strips.
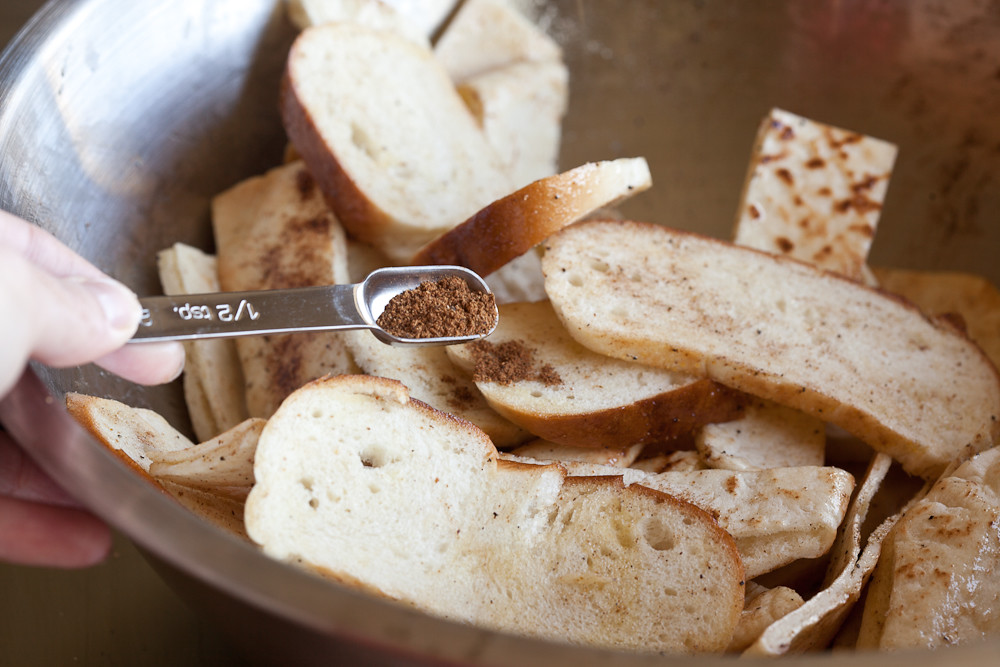
Place all the bread into a large bowl and toss well with 2 Tbs of olive oil and garam masala.
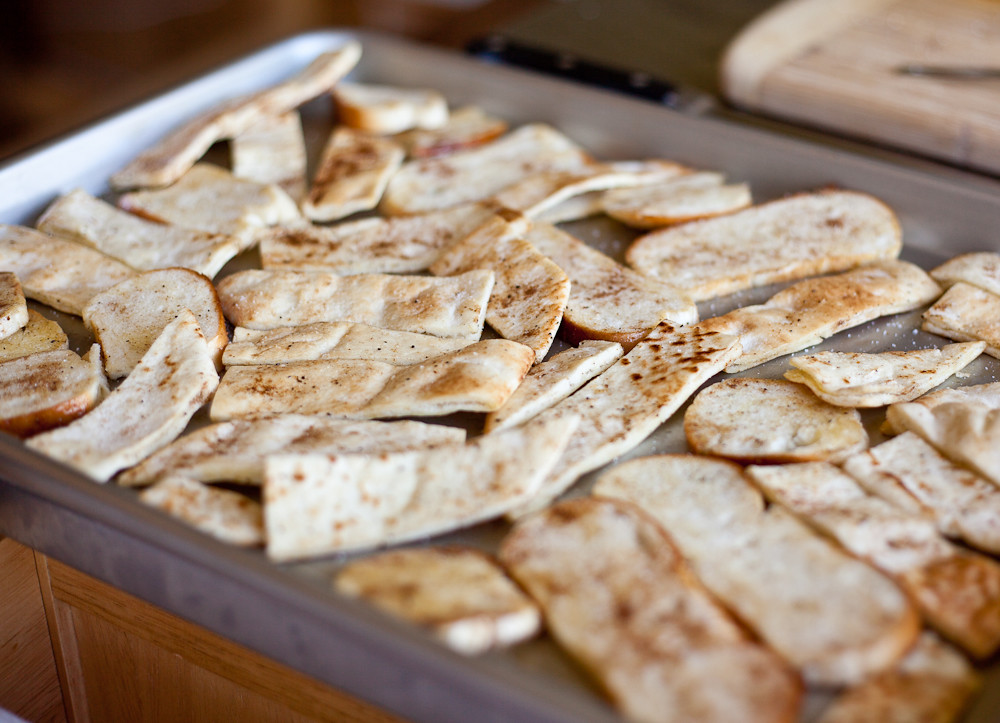
Arrange the chips in one layer on a baking sheet. Sprinkle with 2-3 pinches of salt. If needed, add a couple extra pinches of garam masala to any bits that need it.
Bake at 350 degrees F for approximately 15 minutes. Set your timer for 10 minutes and start checking them for doneness at that point. The chips are done when they are beginning to crisp and turn a lightly golden brown. Be careful not to over-bake. Remove and let cool.
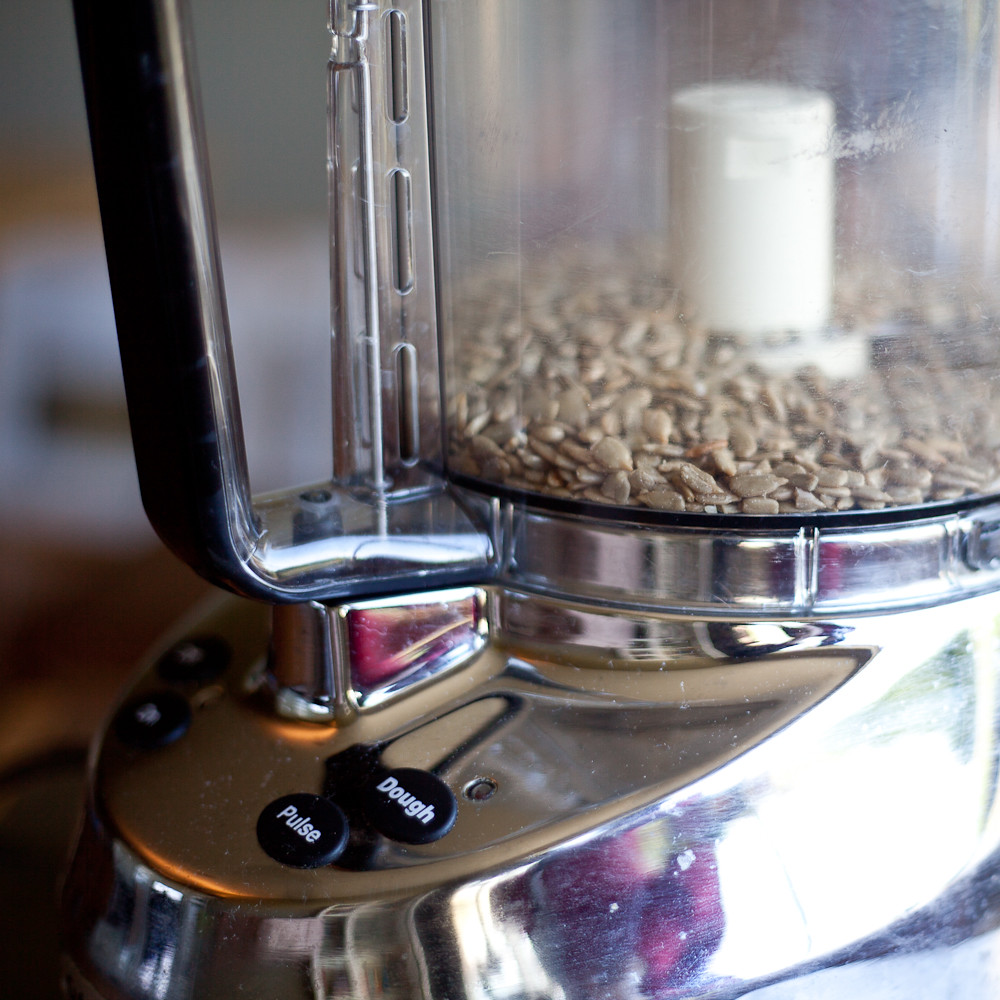
Add the sunflower meats to a food processor and turn it on. While running, add the oil and lemon juice and zest. Slowly add in the water until a smooth, creamy dip is formed.
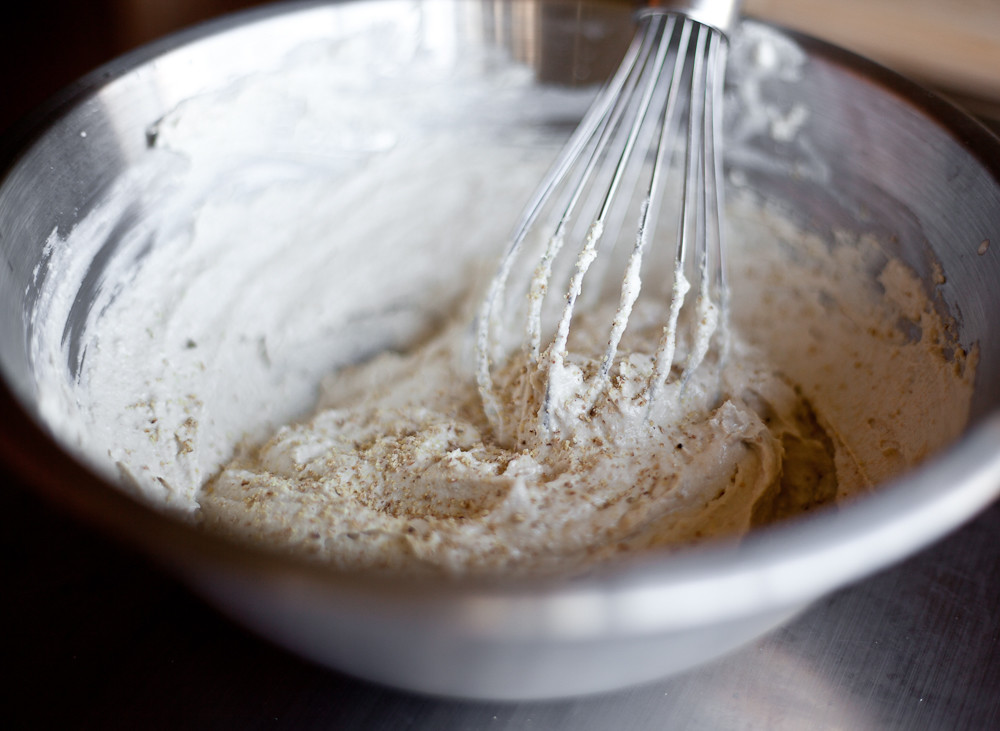
Remove to a bowl and whisk in the salt, to taste, and the black pepper and tobasco. If needed, add more liquid to get the texture you like. Once the dip is ready, gently fold in any fresh chopped herbs you may be using.
The recipe makes a rather mild dip that would be appropriate even for kids’ palates, so feel free to bump up the spices, tobasco, and lemon juice of you want something a bit zippier!