Hurry Up Alfredo – VYY Cookbook!
Alright, are you ready for the first recipe preview from the VYY cookbook?
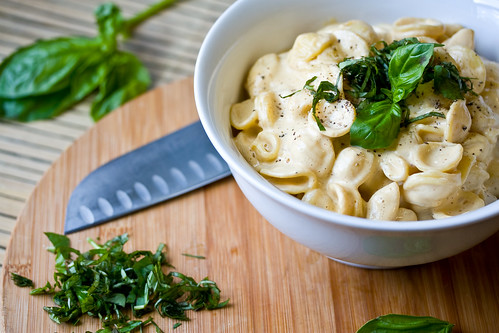
This is one of my favorite recipes in the book. I make it almost once a week. It’s the perfect creamy pasta sauce when you’re feeling like alfredo. It’s also a great sauce for casseroles, over steamed veggies, on top of lasagna — wherever you want a basic creamy sauce. So not only is it really versatile, but it’s also really quick!
The whole sauce is made in a blender, so the faster you can toss ingredients into a blender, the faster it’s done. This also makes it super easy for additions. Recently I’ve been adding whole roasted red peppers (the kind they sell water-packed in jars).
Hurry Up Alfredo
Makes 2-3 Servings
1 Cup Soymilk
1/3 Cup Raw, Unsalted Cashews
1/4 Cup Nutritional Yeast
3 Tbs Low-Sodium Tamari or Soy Sauce
2 Tbs Earth Balance Margarine
1 Tbs Tahini
1 Tbs Fresh Lemon Juice
2 tsp Dijon Mustard
1/2 tsp Paprika (smoked is awesome)
1 Pinch Nutmeg
2-4 Cloves of Garlic, optional
Black pepper, to taste
Add all the ingredients to a blender and blend until smooth. This may work best in a high-speed blender (like a Vita-Mix), but you can definitely make it in a regular blender. Just blend extra-long, or perhaps strain if if you want it perfectly smooth. Tiny bits of cashews won’t hurt anyone though!
If you’re making this sauce for pasta, drain the pasta and return it to the hot empty pan. Pour the sauce over, place on medium heat, and stir until heated through. Serve with lots of fresh cracked black pepper. I love it with steamed broccoli added in!
Don’t forget to pick up a copy of the book on the 16th!
—————————
Note to Testers
—————————
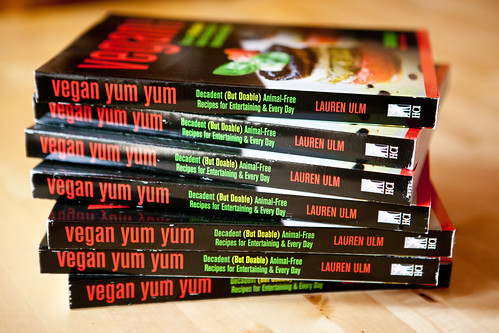
I’ve finally received my author copies of the book! Therefore I’m ready to mail my awesome testers their free copy! Since testing was done two years ago, I need updated addresses. If you were a tester, please email me at lolo @ veganyumyum.com with your current address and I’ll get a book to you in the mail! Many thanks for all your hard work!