Slow Rise Pizza Dough
There ain’t no shame in a cheeseless pizza. But I didn’t know that until I started eating them.
I grew up in the suburbs of Chicago, and it seemed every little strip mall (of which there were many) had it’s own independently-owned pizza place. They all made different styles of pizza, and they were all really freaking good. When we ordered pizza, we didn’t have to choose between huge pizza chain restaurants–none of them ever made pizza I really loved, anyway–we could pick a from several small owner-operated places. The pizza place nearest to my house was always everyone’s favorite. Lucky me! I’ve been trying to recreate their crust for a while now. Today was the closest I’ve ever come.
It’s rare that I post a recipe that isn’t either totally made up by me, or at least heavily adapted. This recipe, however, is straight from 101cookbooks.com, and I can’t thank Heidi Swanson enough for taking the time to adapt and post this wonderful dough recipe to her website. She got the recipe from The Bread Baker’s Apprentice, a book that I’ve heard nothing but glowing reviews of. I’m about to buy a copy of it for myself. She’s whittled the many-page recipe down to the basics, and that’s what I’m sharing with you.
I’ve been searching for a crust: thin but not too thin, tender but not doughy or bready, crispy but not cracker-ish. Sometimes you needn’t look hard nor long to get the what you’re looking for. I typed in “best pizza dough” into google, and wham! The first result was Heidi’s page. I read it over, thinking that surely the first result wouldn’t be what I needed, but soon I was convinced that this was serious pizza dough. Even if it didn’t replicate what I was looking for, it’d still be damn good.
And it didn’t let me down.
While I’m going to re-post the recipe that Heidi posted on her blog, I have my own write-up, step-by-step photos, and tips below. But I do encourage you to take a look at what Heidi has to say as well, and if you’re really interested in all the details, pick yourself up a copy of The Bread Baker’s Apprentice.
There are a few things you need to know about this pizza dough: it needs to be prepared a day in advance, it makes enough for 6 pizza crusts, it preforms best on a pizza stone, and it’s not hard if you follow the directions carefully.
The dough does a slow rise/ferment overnight which gives it not only a lovely flavor, but an unbeatable texture. It’s a process you just can’t rush. The good news is that you end up making enough dough for six pizzas, and it can be frozen easily (directions below).
I’m going to urge you, just like Heidi does, to pick up a pizza stone. (If you’re really feeling fancy, get a pizza peel, too.) Pizza stones are great for all sorts of things. They cook frozen or fresh pizza perfectly, they’re great for flatbreads, and for re-heating food. Since they absorb and radiate heat, they also help even out hot and cold spots in your oven; just leave the sucker on the bottom of your oven all the time and everything will cook and bake more evenly. I picked up a wooden peel, too, because my local kitchen store was having a sale. I got the soapstone pizza stone and wooden peel for $25. Now I can not only make really good pizza, but feel really cool doing it at the same time. Surely that’s worth a one-time $25 investment!
Peter Reinhart’s Napoletana Pizza Dough
For six 6 oz Pizza Crusts
4 1/2 Cups (20.25 ounces) Unbleached High-Gluten, Bread, or All-Purpose Flour, chilled
1 3/4 (.44 ounce) tsp Salt
1 tsp (.11 ounce) Instant Yeast
1/4 Cup (2 ounces) Olive Oil (optional, I include it)
1 3/4 Cups (14 ounces) Water, ice cold (40°F)
Semolina Flour or Cornmeal, for dusting
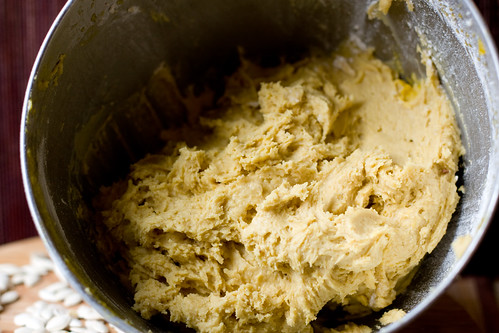
In a large bowl, combine all the above ingredients. Mix well with your hands until all the flour is absorbed and a sticky, wet dough has formed. At this point, decide if you’re going to knead by hand or with a stand mixer. While I love kneading by hand, I used a stand mixer. This dough is very soft and sticky, and I don’t use my kitchenaid enough.
By Hand
Dip a metal spoon in cold water and beat the dough with it, re-cooling the spoon as you go. While beating the dough, spin the bowl in the opposite direction with your free hand. Reverse the spin every-so-often. “Knead” the dough in this fashion for 5-7 minutes, until a smooth but still very sticky mass has formed.
Stand Mixer – My preferred method
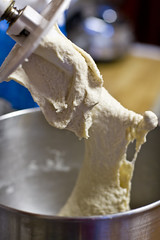 Using the dough hook, beat the dough for 5-7 minutes on a medium speed, or until a smooth, sticky mass has formed. While the dough is being kneaded, it should look like a tornado; it should clear the sides of the bowl, but still be attached to the bottom of it, forming a dough tornado up the dough hook. If the dough is still sticking to the sides of the bowl, add flour, little by little, until the sides release. If the dough isn’t sticking to the bottom of the bowl, add water, little by little, until it does.
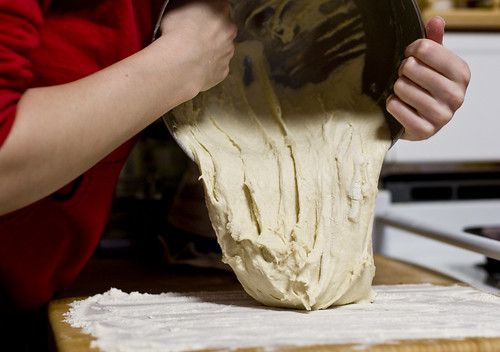
Scrape the dough out onto a well-floured surface.
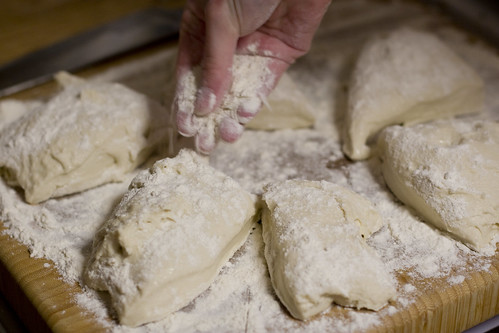
With a wet chef’s knife, cut the dough into 6 equal hunks. Each hunk should weigh 6 oz, if you’re anal like that. Generously dust the dough with flour.
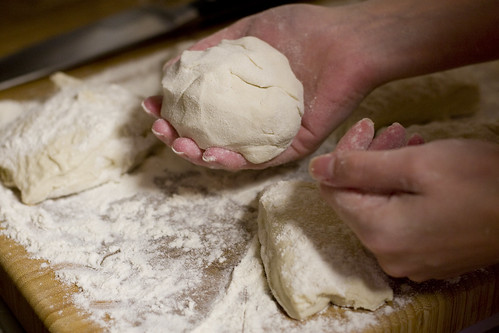
Flour your hands well and gently shape each hunk into a sphere. If the dough is sticking to you or anything else, use more flour.

At this point, prepare any dough you want to freeze for later. In a small bowl, add a few tablespoons of olive oil. Roll the dough ball in the oil and place in a freezer bag – one ball per bag. Freeze immediately for up to three months. The day before you want to make pizza from the frozen dough, remove it from the freezer and into the refrigerator to defrost overnight.
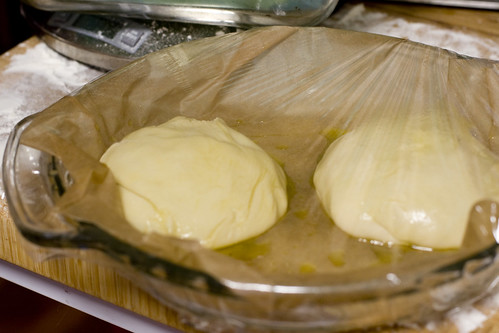
The dough you’re going to use within in the next three days should be placed on parchment paper, covered in oil, and wrapped with plastic wrap. Let dough rest in the refrigerator overnight, or for up to three days.
Through the magic of the internet, time passes immediately
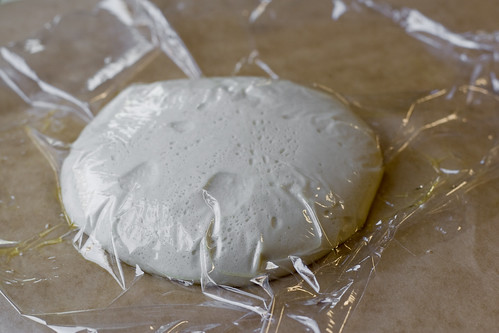
Two hours before making the pizza, remove the dough from the refrigerator and let it sit on the counter at room temperature. 45 minutes before making the pizza, pre-heat the oven with the pizza stone in the bottom (or on the lowest rack) to 450-500º F.
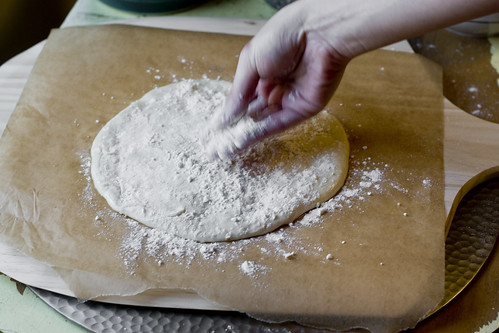
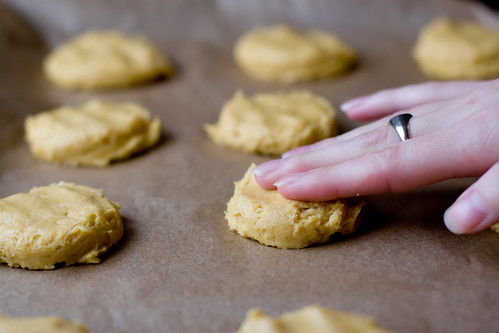
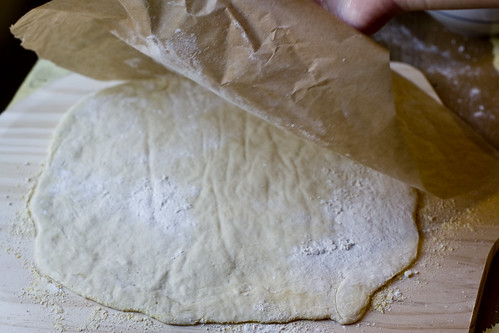
Press dough, still on the parchment paper, into a disc. Remove the plastic wrap and dust liberally with flour.
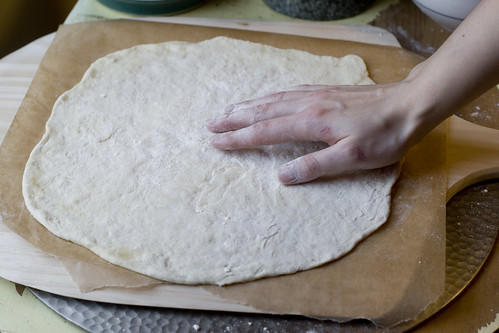
Gently press the dough out, enlarging it into 9″ – 12″ in diameter. My dough was really soft, so pressing sufficed. If your dough is firmer, you can try picking it up and spreading it over your knuckles, or just using a rolling pin.
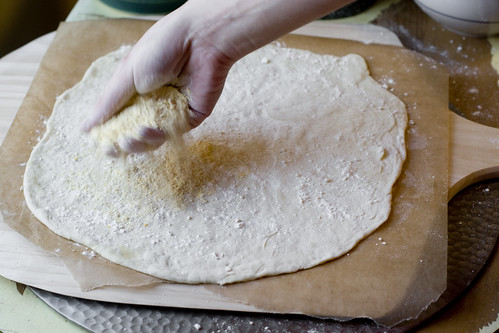
Now for a fun trick. I’ve always had trouble getting soft, uncooked pizza dough onto a peel (or the back of a cookie sheet) and into the oven without destroying the pizza. Here’s how I’ve learned to do it successfully. Dust the top of the dough (which will soon be the bottom) with cornmeal.
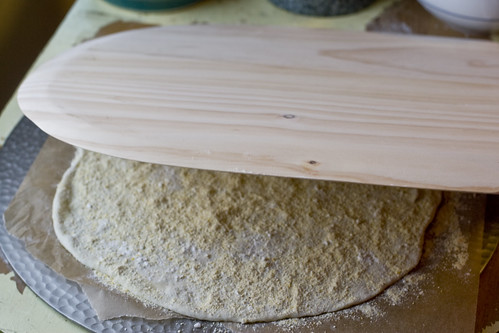
Place the peel over the top of the dough.
Flip the dough over, so the bottom of the dough that was coated in cornmeal is now laying on the peel. Give the peel a little shake, the dough should slide freely! If it does, you’re in luck.
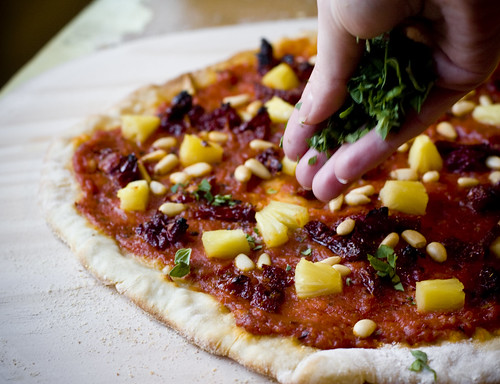
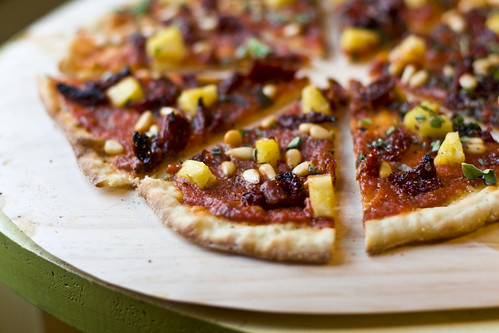
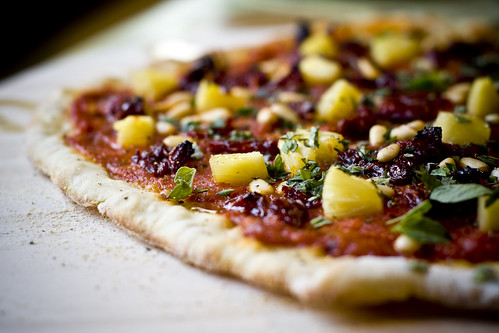
Top your pizza mosdestly – 3-4 toppings including sauce! We like to top our pizzas with tomato sauce, sundried tomatoes, pineapple chunks, and pine nuts.
Check to be sure your pizza still slides easily on your peel. If it does, gently slide the pizza off the peel onto the hot stone with small but firm jerks of your arm. Bake at 450º for 5-8 minutes, until crust is lightly browned around the edges.
Top with freshly chopped herbs and a drizzle of olive oil. Enjoy!