Rustic Bread & Eggplant Lasagna
My husband and I have been watching The Sopranos recently (yes, I’m apparently 10 years behind the curve here), and I can only listen to the characters talk about manicotti and baked ziti so many times before I get a serious craving for some Italian food. It got me thinking to a public television cooking show I saw a while ago, Lidia’s Italy. I remember she made a lasagna that used bread instead of noodles, and it struck me as brilliant.
I know making pasta isn’t hard, but there’s something about boiling lasagna noodles that is a huge pain in the ass. They’re huge, you must not over cook them, you have to prevent them from sticking to each other after draining… I don’t know, maybe I’m just lazy, but the idea of using bread really caught my attention. Of course, I couldn’t find Lydia’s recipe to go from, so this version is totally made up by me. But not only do I want to credit her for general inspiration, she also has an Italian cooking show, so she gives my crazy bread lasagna some legitimacy. Maybe. Shhh.
The easiest thing to use is a loaf of pre-sliced, crusty sourdough. I know I recommend sourdough for everything, but really, it’s awesome in this dish. You want the favor, of course, but you also want a sturdy “artisan” type bread that won’t fall apart in the oven. This isn’t a job for sliced sandwich bread. It’s best with bread that is even perhaps a little stale. Look for a quality sliced loaf in the day old section of your grocer and save a buck or two.
You can put absolutely anything in this lasagna. I picked eggplants because I had three of them. I think they are lovely in this, so I recommend them, but really, stuff this with whatever you like or whatever is handy.
Rustic Bread & Eggplant Lasagna
Serves 9-12
3 Tbs Olive Oil
4-6 Cloves Garlic, minced (optional)
2 28 oz Cans Organic Tomatoes, blended
2 tsp Salt
4 tsp Dried Italian Herbs
Olive Oil, for drizzling
2-3 Medium Eggplants, peeled
8-10 Large Slices of Sourdough Bread
1 Cup Breadcrumbs (or 2 more pieces of bread for toasting and food processing)
1-2 Large, Ripe Tomatoes, fresh, for garnish
Basil, for garnish
In a very large skillet with high sides, or a sauce pan, heat the olive oil over medium high heat. Sweat the garlic for 1-2 minutes, then add tomatoes, salt, and herbs. Cook for 30 minutes (bubbling), stirring occasionally. Invert a mesh strainer over the top of the pan to prevent splatter, if desired.
Preheat oven to 400º F.
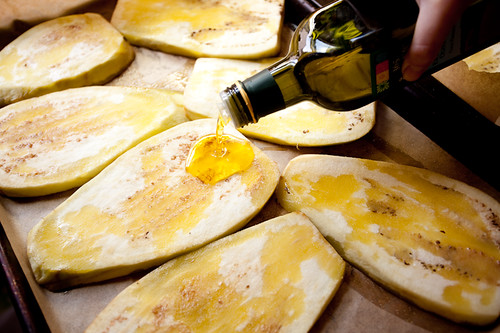
Meanwhile, prep two baking sheets with parchment paper. Peel the eggplants by slicing off the top and bottom and using the cut edge to start your vegetable peeler. Holding the eggplant vertically, cut the eggplants into 1/2 inch slices. Arrange in one layer on a baking sheet. Sprinkle with salt and drizzle liberally with olive oil.
Bake eggplant for 30-40 minutes at 400º, turning once, until very, very soft and browned in some places.
Spray both sides of each slice of bread with spray oil and “grill” in a hot skillet until browned on both sides. You can also simply toast the bread, but I think you get more flavor with grilling.
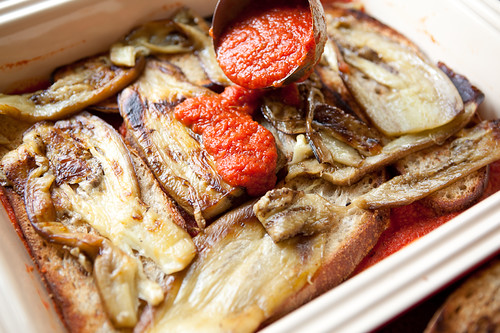
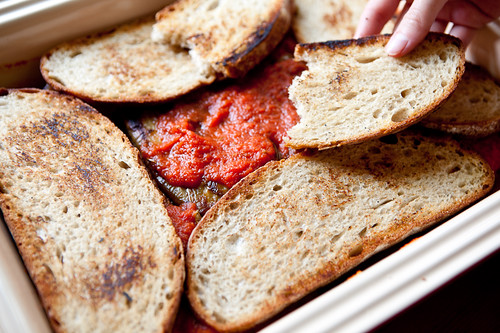
In a large baking dish (a lasagna dish), spread 1 1/2 cups of tomato sauce. Line the bottom of the dish with bread, filling as many as the gaps as possible without overlapping.

Place half of the eggplant on top of the bread, followed by another 1 to 1 1/2 cups tomato sauce.
Add a second layer of bread.
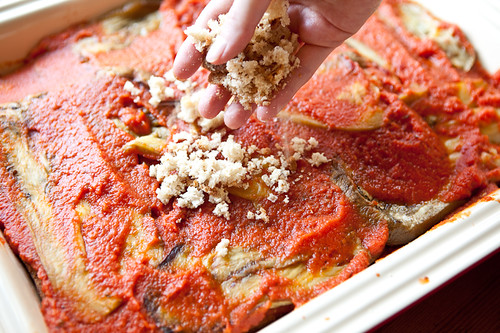
Add the second half of the eggplant, and all of the remaining sauce. Make sure that the bread is completely covered by sauce. Sprinkle breadcrumbs over the top.
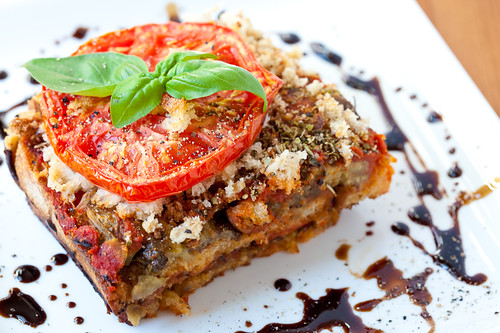
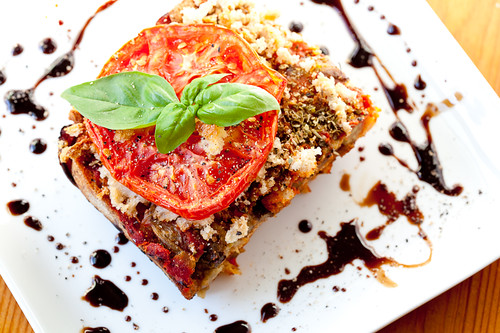
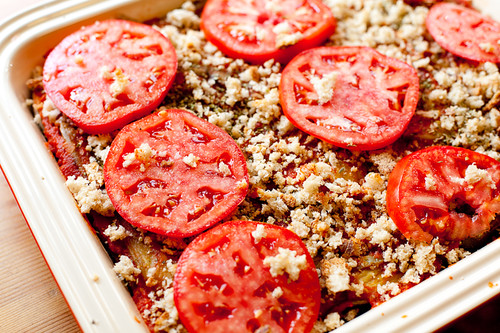
Place fresh tomato slices on the top of the lasagna, sprinkled with salt and pepper.
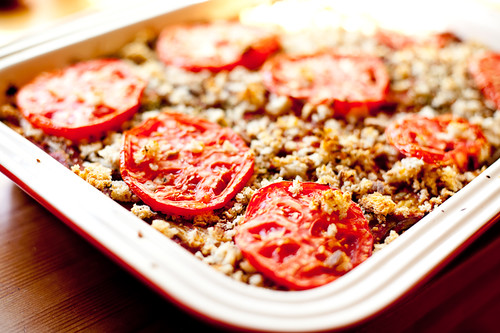
Bake for 40 minutes at 400º F. Remove from oven and let rest 10 minutes before cutting.
Top with basil leaves and drizzle sweet and thick balsamic vinegar (or balsamic syrup) on the plate if desired. Enjoy!