Candied Clementine Cake

For those of you that want to try out the candied clementines but maybe don’t want to eat them whole (yes, you can eat the peel!), I offer you this lovely clementine bundt cake. It’s a more traditional dessert for sure, but I think more broadly appealing than the candied clementines.
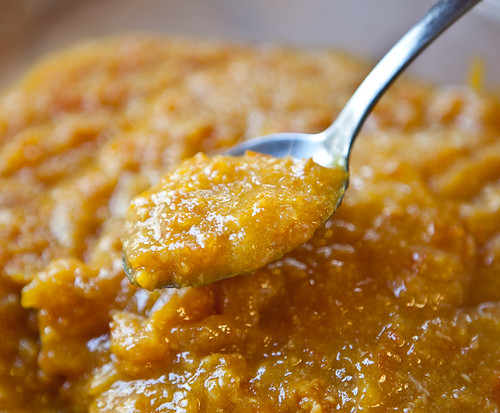
I blended up the candied clementines I had leftover from the last post, and it became this gorgeous, thick, marmalade-like spread. I thought it would be absolutely perfect to flavor a bundt cake with, and I was right. I think I prefer the cake to the clementines alone!
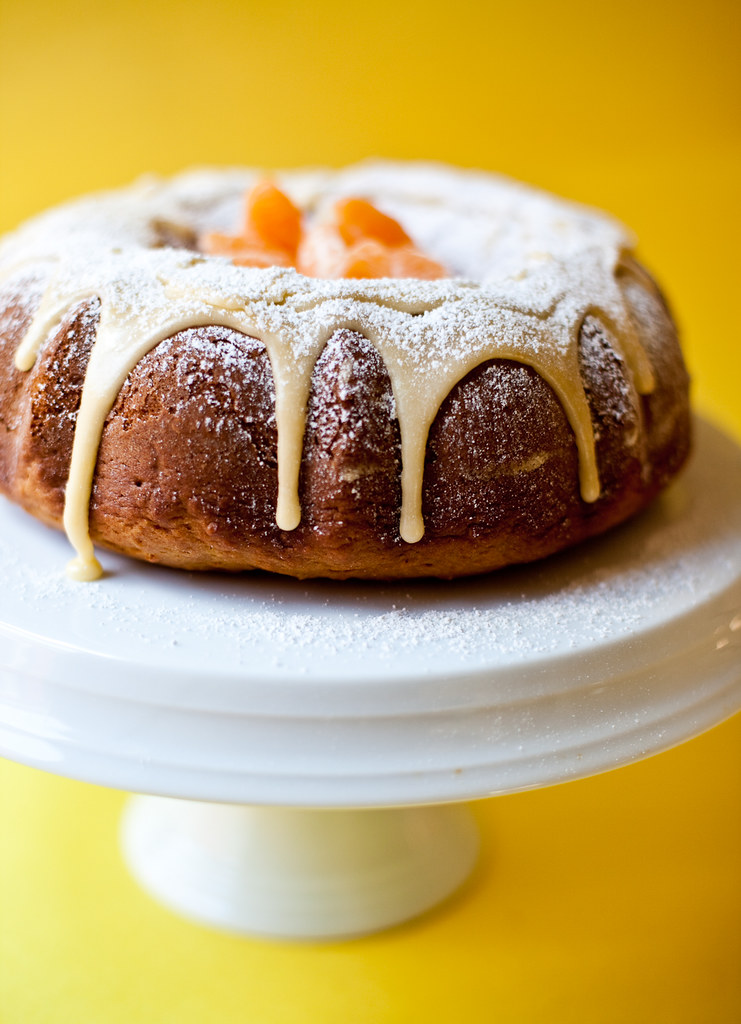
This cake was so perfectly moist and fluffy, I nearly teared up when I had the first bite. It’s a wonderful combination of sweet, citrusy, and slightly bitter (in a good way) from the peel. The clementine flavored poured fondant is really the ideal topping. But don’t get scared off at the mention of poured fondant. It’s super easy. And it’s bakery quality icing. You have to try it!
You see, I like icing glazes, but it can be tricky to get the thickness right when you’re mixing powdered sugar with liquid. Too thin and it just soaks into the cake a disappears, too thick and it doesn’t pour at all. And there’s always that vague grainy mouth feel it leaves behind, thanks to the cornstarch in the powdered sugar. I thought if I cooked it a little bit the powdered sugar would dissolve and help thicken the sugar (same idea for your basic stir-fry sauce thickened with cornstarch!). But then I also remembered poured fondant.
I discovered poured fondant when I made petits fours. It’s a sugar-based icing that is heated until the “soft ball” stage, or 235-240º F. If you have a candy thermometer handy, use it, but it’s NOT necessary. Since we’re only making a small amount of icing, I can pretty much guarantee you that boiling the icing for 10-20 seconds will bring you to the soft ball stage. Easy.
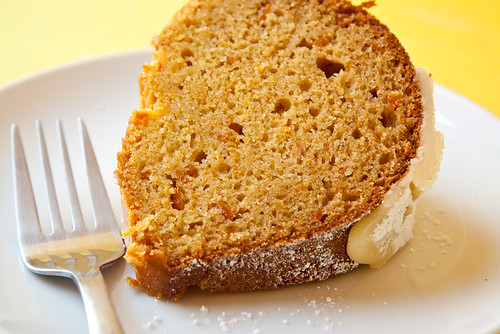
 The cool part about fondant? It sets, hard and glossy, when it cools. So once you’ve heated it enough, you whisk it off the heat until it starts to thicken and pour it over your cake. And like magic, it’ll harden and you’ll have totally perfect, totally professional-looking icing on your cake. The icing in the photos? Completely dry and set, even though it looks like it was just poured. And if it cools too much before you’re ready to ice, just re-heat it to thin.
Plus, it tastes amazing because I use fresh clementine juice for the liquid as opposed to water. Give it a try, I’m sure you’ll love it.
Candied Clementine Cake
Makes One Bundt Cake
1 1/2 Cup Candied Clementine Puree, around 5-8 clementines
1/2 Cup Vegetable Oil
1 1/4 Cup Soymilk, or other non-dairy milk
1/4 Cup Sugar
2 Cups All-Purpose Flour
1 1/2 tsp Baking Powder
2 tsp Baking Soda
1/2 tsp Salt
2 Fresh Clementines, for garnish
Clementine Poured Fondant
1 1/4 Cup Confectioner’s Sugar
3 Tbs Fresh Clementine Juice, or other citrus (about 3 clementines)
Preheat oven to 350º F.
Puree the clementines in a food processor until fairly smooth, but small bits of peel are desirable in my opinion!
Combine the clementine puree with the oil, soymilk, and sugar. Whisk until smooth.
Mix flour, baking soda, baking powder and salt in another bowl.
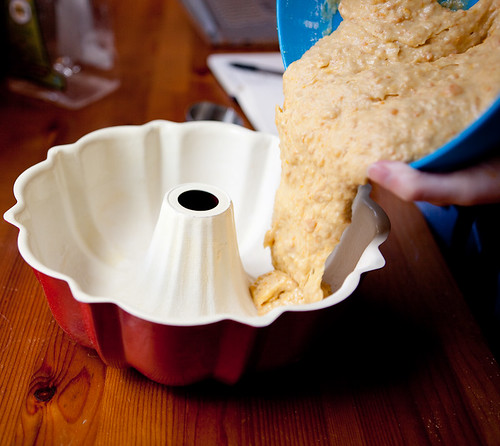
Grease a bundt pan with spray oil, vegan margarine like Earth Balance, or vegetable shortening. Scoop a few spoonfuls of the dry mixture into the greased bundt pan and turn the pan to coat the sides and center spike. Rap the pan against the counter to loosen any extra flour and pour it back into the dry mixture.
Fold the dry mixture into the wet mixture until combined. Pour the batter into prepared bundt pan. It’s okay if it’s a little thick.
Bake at 350º F for 45-50 minutes until a cake tester comes out clean. Let cool upside-down on a large plate. After a few minutes the cake should drop out of the pan onto the plate in one piece, assuming you didn’t miss any spots when greasing and dusting with flour. Let cake cool completely before icing.
Clementine Poured Fondant
Whisk powdered sugar with 3 Tbs of clementine juice. Add to a small sauce pan and bring to a rolling boil for 10-20 seconds, or until it reaches the soft-ball stage (235-240º F).
Remove from heat and whisk constantly until it starts to thicken. At first, the icing will be a glossy yellow (similar to egg yolks), and it will gradually thicken and become lighter as it cools. You want to pour it over the cake when it’s very clearly thickened, but not too cool (i.e. thick) to pour. If the icing becomes too thick, simply reheat and start again.
Dust the cake with powdered sugar to finish, and garnish with fresh clementine segments.