Graham Crackers (and Dandies!)
I always have trouble finding vegan graham crackers at the store. Nearly every single brand has honey in them. The one version that doesn’t is full of icky ingredients.
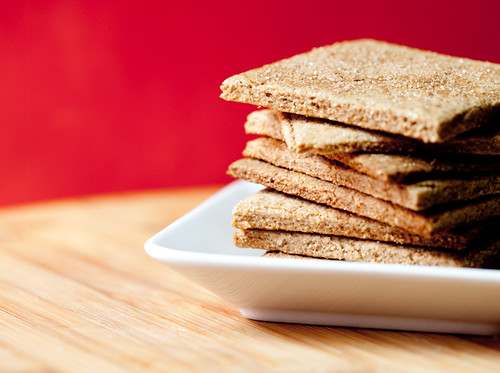
When I got my Dandies in the mail, I knew I had to make my own graham crackers once and for all. The recipe turned out really good. I’d like to perfect the texture a little (ideally, I’d actually like them to be more crumbly than they are), but the flavor is nice and mellow, and it really highlights the sweet, nutty taste of whole wheat without being overly sugary. If you like your graham crackers really sweet, add a bit more sugar than I call for.
 Graham crackers are traditionally made with graham flour, named after Sylvester Graham, a really interesting (if slightly crazy) health nut from the 19th century. He promoted the vegetarian diet (yay!) to cure, among other things, sexual desires (I did say he was slightly crazy).
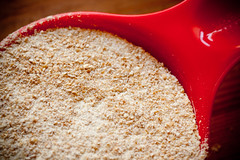
Graham flour is whole wheat flour. What makes it different from standard whole wheat is the ratio of endosperm to bran to germ. Sylvester Graham ground these parts of the wheat berry separately to preserve texture and then re-combined them in a specific proportion. You can find graham flour in some stores and online, or you can make your own. Wikipedia says “one cup of graham flour is approximately equivalent to 84 g (~2/3 cup) white flour, 15 g (slightly less than 1/3 cup) wheat bran, and 2.5 g (1.5 teaspoons) wheat germ.”
Or you can do what I did and just use stoneground flour and call it a day.
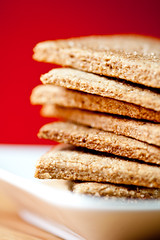
 Actually, you can use whatever flour you like for these. I used stoneground flour because it has little flecks of bran in it, which adds some lovely texture to the crackers. I really recommend using at least some form of whole wheat, because it gives the graham crackers their traditional nutty flavor. Oh yeah, and it’s healthier. And rest assured it won’t mess with your libido. Sorry Sylvester.
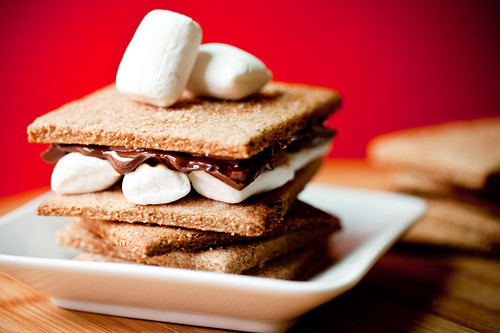
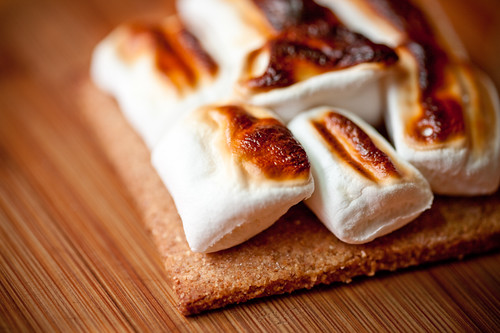
Graham crackers are tasty, but they aren’t the sexiest food in the world. S’mores, on the other hand? Sexy. I made these with Chicago Soydairy’s latest vegan treat, Dandies vegan marshmallows. They are awesome! It’s my understanding that they’re being sold online, but sell out FAST. So if you see them available, scoop them up! They taste great, and they’re gelatin free, and they roast up just like the non-vegan version. Perfect for s’mores.
How about a little video before the recipe? Don’t forget all my videos are HD, so you can watch them full-screen!
Making Graham Crackers on Vimeo.
Graham Crackers
Makes at least 24 3×3″ Crackers
2 1/2 Cups Graham Flour or Stoneground Flour or Whole Wheat Flour
1 Cup All Purpose Flour
1/2 tsp Baking Powder
1 tsp Salt
1 tsp Cinnamon
1/2 Cup Earth Balance Margarine
1/4 Cup Dark Brown Sugar
1 tsp Vanilla Extract
1/4 Cup Agave Nectar (or a little more sugar mixed with water)
3/4 Cup Water
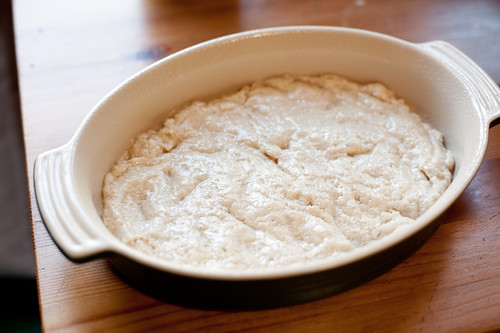
Mix the all the dry ingredients together. Cream together Earth Balance and sugar. Add vanilla and agave and beat with a whisk until smooth. Add a little of the flour and a little of the water to the earth balance/sugar mixture and combine. Continue adding in flour and water, a little at a time, until all flour and water is added. Work the dough with your hands until everything is evenly combined.
Divide dough in half and cover. Let rest for 30 minutes at room temperature.
Preheat oven to 325º F. Roll out the dough into a rectangle that measures approximately 11″x15″. Trim edges. Using a knife or a pizza cutter, cut the dough into squares or rectangles (I cut mine into 3′x3′ squares). Prick the squares with a fork.
Bake for 30-40 minutes at 325º F or until the crackers are turning golden brown around the edges. You can sprinkle cinnamon and sugar on top of the crackers during the last 10 minutes of baking if you like.
Remove from the baking sheet and let cool on a wire rack. See the video above for visual directions.
For S’mores
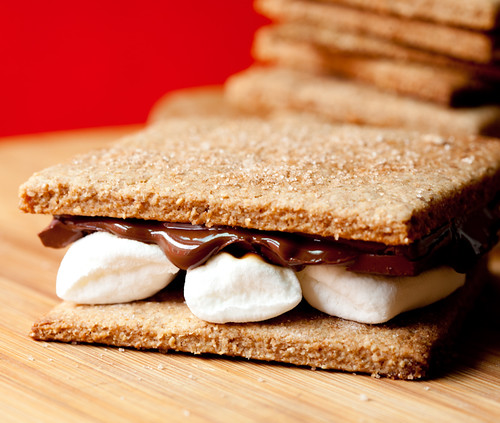
Place the crackers in multiples of two on a baking sheet and preheat the oven to broil. Add chocolate to one cracker and vegan marshmallows to another until all the crackers are topped. Broil for less than 1 minute, watching constantly, until the marshmallows are golden and melty and the chocolate has softened.
Remove from oven, assemble the s’more, and eat! The graham crackers are also great plain, or topped with cream cheese frosting.